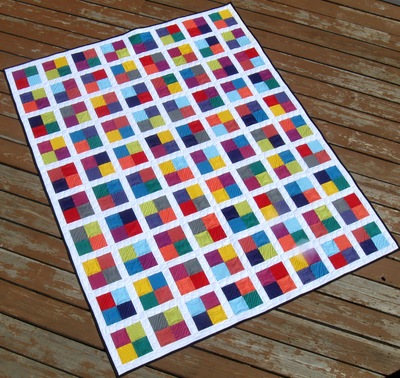
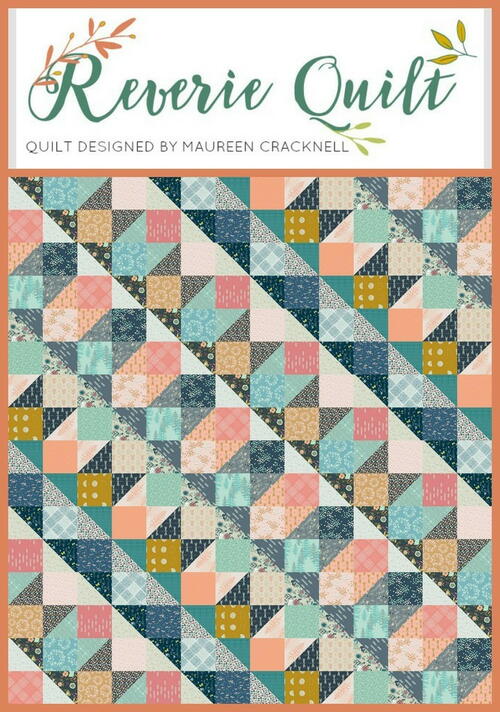
Reverie Quilt

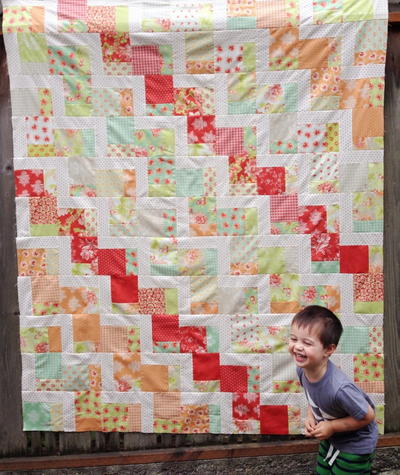
Indulge in creativity when you make the Reverie Quilt pattern! This free quilt pattern combines the simplicity of half-square triangle quilting and the classic patchwork technique to create a unique quilt design. This quilt features unfinished squares that measure at 9.5", a size that can easily be used to adapt the pattern to your personal needs. Whether you are making a large or small version of this quilt, its versatile nature will make that possible. This pattern promises both elegance and ease, inviting quilters of all levels to try it out!
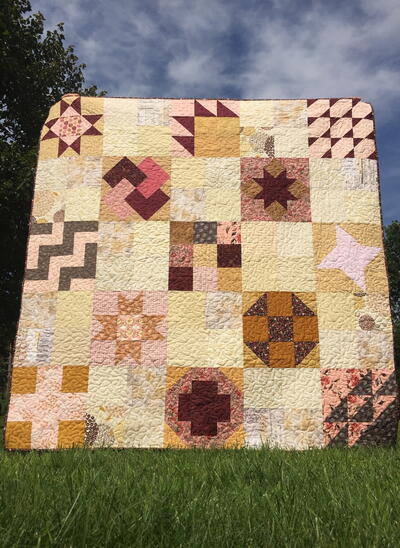
Finished Size: 64" X 72"
Time to CompleteWeekend project
Primary TechniqueQuilting

Project TypeMake a Project
Materials List
-
Janome Supplies Required:
- Horizon Memory Craft 15000
-
Fabric and Materials Required for making this quilt:
- you will need a fat quarter (18" x 22") piece of each of the fourteen fabrics shown below for making half square triangles (HSTs)
- cut TWO 11" squares from each fat quarter piece of fabric
- you will need a fat quarter of each of the fourteen fabrics shown below for patchwork squares
- cut EIGHT 5" squares from each fat quarter piece of fabric
- thread
- rotary cutter/mat/ruler set
INSTRUCTIONS
How to Make HSTs for a Reverie Quilt Block:
HSTs will be made using the "make eight at a time" method I share below to use towards making Reverie quilt blocks.
-
Begin by choosing two 11" cuts of fabric (Use the fabric swatch photo above that includes the prints for making HSTs). Place two fabrics right sides together and draw a line diagonally from one corner to the opposite corner making an “X”. Pin the fabrics together to avoid shifting (optional), and sew 1/4″ from either side of the marked lines.
-
Use a ruler to cut a vertical line through the center of the fabric, then cut a horizontal line the same way. You should now see an “X” (with stitch lines) and a plus sign. Use a ruler and rotary cutter to cut along the marked lines to yield eight HSTs.
-
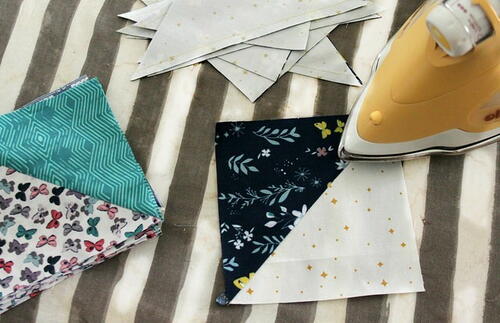
Open your HSTs and press the seam with an iron. I like to press my seams open, so they stay flat in the finished quilt block, or I press seams toward the darker fabric. Trim as needed to measure 5" on all sides.
-
Continue making 5" HSTs using the "make eight at a time" method, pressing seams and squaring up as needed.


Assembling Reverie Quilt Blocks:
-
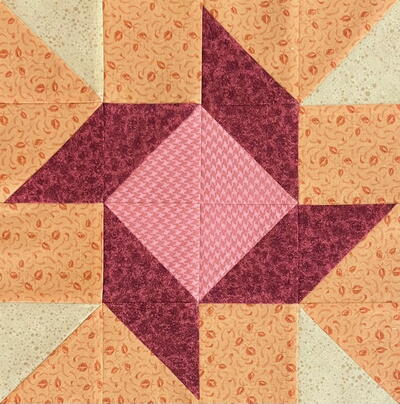
Each block consists of two - 5" HST and two - 5" patches of fabric.
-
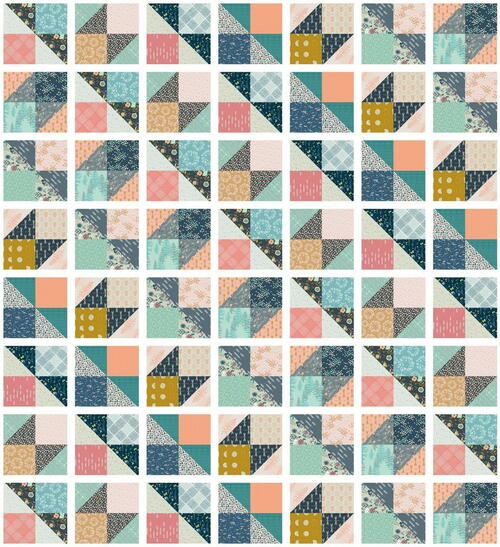
Using a 1/4″ seam allowance throughout, begin by sewing one 5" HST and one 5" patch together. Repeat, alternating HST and fabric patch placement, then sew the two units of two together to create each block. Follow the block diagram below for HST and fabric patch placement to create all fifty-six blocks needed to create this quilt.
You may need to trim up the block to achieve a 9.5" square block, depending on how accurate your cutting and sewing is! -
Follow the layout in the main quilt image and the diagram above and below for block placement.

Assembling the Reverie Quilt Top:
-
Once all blocks are made and arranged into rows according to the diagrams and the above illustration, sew blocks into rows, then sew rows together, pressing seams as you go to reveal your beautiful quilt top!
-
To finish a quilt this size, made up of fifty-six blocks, measuring 64" x 72" you will need:
- 2/3 yard of quilt binding cut into 8 strips WOF (if binding strip width is 2.5")
- 4 1/4" yard of backing fabric
-
Your project is finished! If you love this tutorial, be sure to check out Janome.com for even more inspiration.

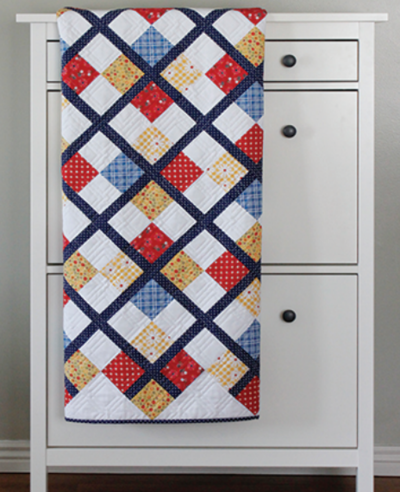
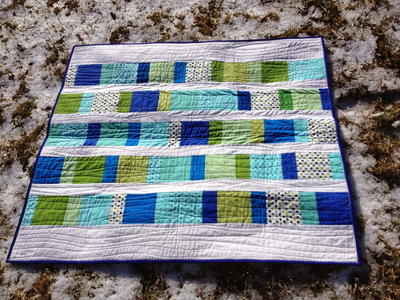
Read NextFour Square Free Quilting Pattern