Bias Tape Part 2: Machine Method
Machine Method
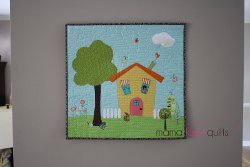
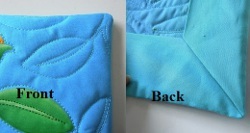
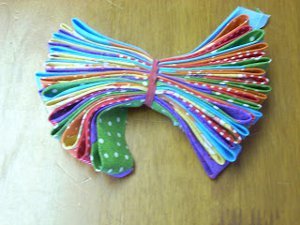
Bias Tape Part 2: Machine Method shows you how to make bias tape using a double fold bias tape maker. Using this quilting tutorial, you can make patterned bias tape to match your quilts and sewing projects instead of using store-bought bias tape!
Project TypeLearn a Technique
Time to CompleteIn an evening

Materials:
- 2" bias-cut strip of fabric made in Bias Tape Part 1: Cutting the Fabric
- Double fold bias tape maker
- Iron
- Ironing Board
Instructions:
-
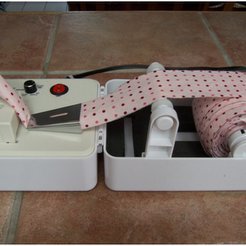
Insert one end of the strip of fabric through the slit in the middle of the roller. Roll your long strip onto the roller so that the right side of the fabric is up. Set your roller in its spot (you'll see this in a minute).


-
Take the end that comes off the top of the roller and insert it through the bias folding attachment. I find this easier to do when I've recut the end so it comes to a sharp, thin point.

-
Snap the folding attachment into place, pull a length from it, and lay the length across the heating plate.


-
Snap on the heating/roller piece and turn the machine on.

-
When the green light comes on, press run and watch the piles of bias tape pour out! If you insist on overloading the roller (like me), you'll have to do a bit of guiding for awhile.


-
To use your bias tape, the next step is to iron it almost in half. With bias tape, you want one edge to come just underneath the other. This helps to catch the back tape when you're sewing it on.

-
For instructions on using your bias tape, check out Bias Tape Part 4: Sewing the Tape.
If you do not have a double fold bias tape maker, check out Bias Tape Part 3: Hand Tool Method.
Read NextHow to Bind Hexagon Quilts

