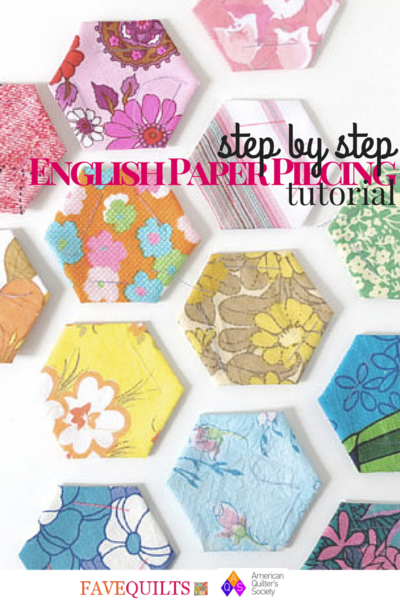
Step by Step English Paper Piecing Tutorial
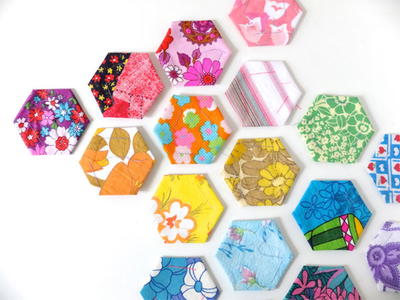
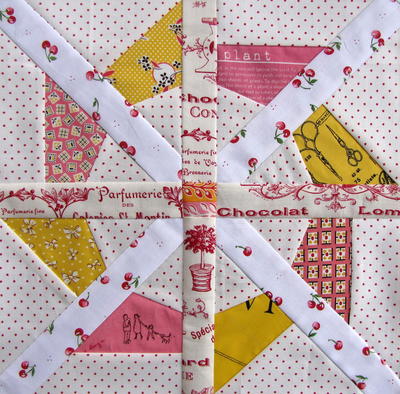
 English paper piecing is one of the most well-known quilting techniques. This smart, time-saving and always lovely type of quilt is created by using a handful of hexagons to make a design. These hexagons are often combined to make a full quilt pattern, floral themed applique, or the components of a quilt block pattern. Learning how to paper piece is easy with this Step by Step English Paper Piecing Tutorial provided by our friends from AQS. Once you explore this free quilting tutorial, you will be an expert EPP in no time. Consider printing out this tutorial and keeping it on-hand for future projects.
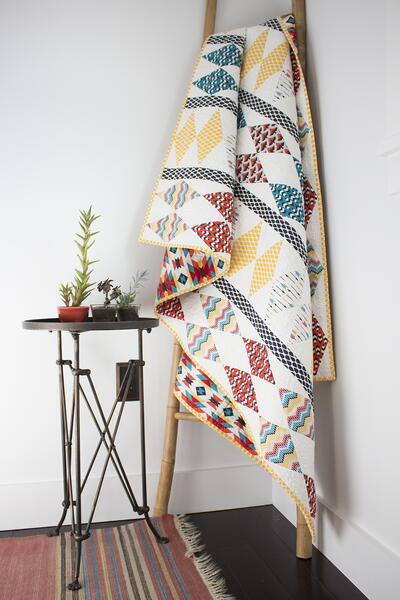
Use your new paper piecing skills on this adorable tree skirt pattern brought to you by AQS. The Hexie Tree Skirt Pattern comes with three color scheme options and a whole lot of cheer!
Basic English Paper Piecing
English paper piecing allows perfect corner matching. Die-cut, sturdy but flexible paper pieces fit together perfectly when the fabric is snug around them. Paper pieces are available in a huge selection of sizes and shapes from companies like PaperPieces.com. If you choose to cut your own paper pieces, print them with the smallest possible lines. Precision cutting of the papers is very important.
Perfection of seam allowance size on English paper piecing is not as critical. You may choose to simply cut around the paper shape, visually adding a ¼"-3/8" seam allowance. Using acrylic templates is helpful for fussing cutting a design.
- Cut a piece of fabric ¼" larger than the paper shape.

- Place paper shape on the fabric.

- Hand baste the seam allowances in place, starting with the knot on top of the fabric and ending with only a small backstitch. Fold seam allowances snugly as you baste. Use tiny binder clips to secure the fabric if necessary as you work your way around the piece. On some small shapes, you will not have to stitch through the paper—taking a basting stitch across the fabric in each corner will secure the fabric snugly. Longer sides will require stitches through the paper piece.

- Alternatively, use a fabric glue pen to baste the seam allowances. Only a small line of glue is necessary, and it should not be near the seam’s fold. Make sure the fabric fold line and corners are taut.

- Hold two pieces together with the edges and ends matching exactly.

- Whipstitch the pieces together according to the design diagram. To whipstitch, pull the knotted thread up through the seam allowance and bring the thread over, around, and back through, catching only a couple of threads at the edge of the fabric fold as you continue across the piece. Do not catch the paper in the whipstitch, and use a small gauge thread. The goal is a nearly invisible stitch. See drawn diagram.

- When three corners meet, make an extra stitch or two to pull the three corners snugly together.

- Remove basting. If you have glue basted, slide a stylus or the end of a seam ripper under the seam allowance and the glue should separate easily.
- Remove papers and press.


Find more how to quilt tutorials and free quilting videos in our Videos and Techniques section.
Read NextMajestic Maple Fox Block