Trendy Zipped Quilted Tote Bag
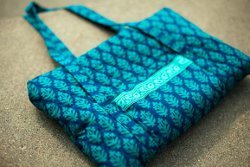
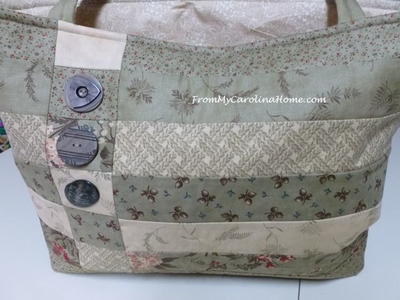
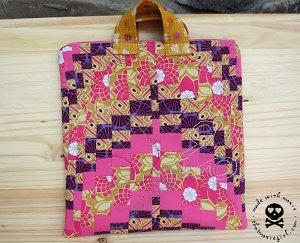
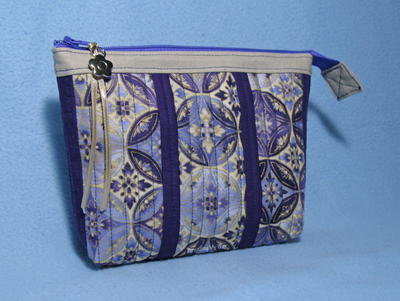
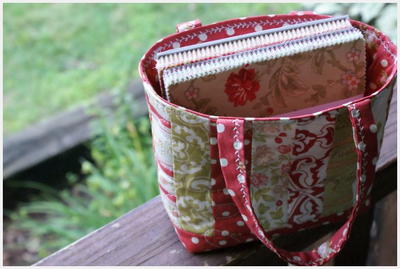
Avoid splurging on an expensive purse by making your own Trendy Zipped Quilted Tote Bag. This guide shows you how to sew a bag that makes a great personal accessory and is an easy quilt pattern for beginners to follow. You'll be amazed at how your favorite fabric and a simple quilt pattern can be sewn into a fashionable and functional tote bag. Whether you use your quilted bag at the office, grocery store, or for travel, these simple and helpful instructions on how to make a tote bag are perfect for beginners to save major cash and practice your quilting skills on this cute project.

Materials:
- Fabric
- 2 pieces measuring 18" x 12" each
- 2 handles 40" x 4" each
- 1 pocket 5" x 7" plus for seam allowance
- 20" Zipper
- Thread
-
Pins
Instructions:
-
To begin this bag together, you will need two rectangle pieces of fabric, measuring 18 by 12 inches (seam allowances included) each. These rectangles will make the front and the back exterior of the bag.
-
You will also need two long strips of fabric to form the handles. To make these, you cut two fabric pieces to measure 40 by 4 inches each. Fold the strip in half width wise, iron flat. Fold each end towards the center and iron again to form 1 inch wide handles. Sew along the open edge. You will need two such handles.
-
You will also need one rectangle to form the pocket measuring 5 by 7 inches (plus seam allowances). I finished the inside of the pocket with a contrasting fabric, and added a pretty border on top here

-
Front and back of the purse have an exterior fabricThe front and back of the purse have an exterior fabric (seen here) that are layered over a thick layer of batting. You need to quilt the fabric and batting (with no backing fabric) in a diamond pattern. My fabric had a printer pattern that easily guided my diamonds, but you could choose any other quilting pattern you want. After quilting, (the quilting process will probably take the most time out of this project!) trim the front and back pieces to measure 18 by 12 inches using a 45mm Rotary cutter and an acrylic ruler.

-
Now it’s time to attach the pocket to the front of the bag. Pin the pocket onto the center of the bag and pin the front handle to sit on top of it. Place the handles 5.25 inches in from each of the outer edges. Sew the handle and pocket in place. Similarly sew the handle in place on the back of the bag.

-
At this point, you will also need to cut two rectangles from a contrasting fabric, to measure 18 by 12 inches wide. This is to make the inner bag lining. Its zipper time next. I am using an all purpose 20 inch zipper to match my exterior fabric here. To attach the zipper in place, first place the front of the bag, right side up. Place the zipper right side down along. Now place the lining fabric, right side down, and pin all the three layers together. Using the zipper foot of your sewing machine, sew all the layers together carefully.

-
Open out the layers after sewing the zip, and press the seams out gently. The bag should look something like this at this point.

-
To sew the other side of the zipper in place, place the fabric like a sandwich. The back of the bag, front side up, goes down first. Layer the front of the bag, right side down, on top of that. This should automatically place the front lining fabric right side up on top. Now place the back lining piece right side down, and pin all of the layers together. Sew zip in place carefully.

-
Now the bag should have a little structure. Open the bag out, so that the lining pieces are on one side of the zip and the quilted front and back are on the other side. Take a minute here, to pin your handles securely, so that you don’t accidently get them stitched into the bag seams.
-
Press the zipper with the right side up towards the outer fabrics.

-
Now we are ready to stitch the seams all around. Make sure you move your zipper to the center of the bag before stitching the seams. Sew all around the outer fabrics, with an 1 inch seam along the sides and an 0.5 inch seams along the bottom edge, sew over the zipper, and then sew the side and bottom seams of the lining fabric, leaving a little area open, to turn the bag inside out.
-
Using your Softgrip Pinking Shears, trim the outside edges of the seams to prevent fraying.

-
Carefully turn the bag inside out, making sure to push the corners out. Hand-stitch the lining hole closed. Open the zip, and unpin the handles out. Your bag is now ready to use! Drop your wallet in, and some lip gloss and you should be all set!

Read NextHow to make Lavender Bags

