What Causes Ripples in Bindings?
Learn the cause and how to fix quilt binding mistakes with this guide.
Binding your quilt is one of the most rewarding stages of the quilting process. It is the final sprint of a marathon; a quilter’s version of the finish line.
Few things can dampen that excitement like ripples in your binding. What causes ripples in bindings?
This guide will go over the most common reasons and solutions. Wavy bindings are often resulting from uneven feeding.
Below, I am sharing some common causes and preventative measures to help reduce binding ripple occurrences.
Uneven Quilt Edges and Out of Square Corners
Problem: You have uneven quilt edges and out of square corners. The edges of your quilt sandwich and its corners serve as guides when attaching your binding. If your quilt’s edges are uneven and the corners not square, one side of your binding will likely have more slack than the other. The extra fabric will need somewhere to go causing the ripples to occur.
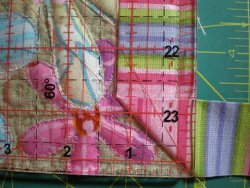
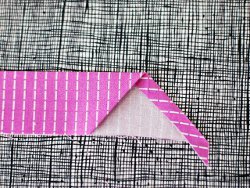
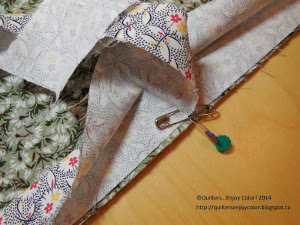
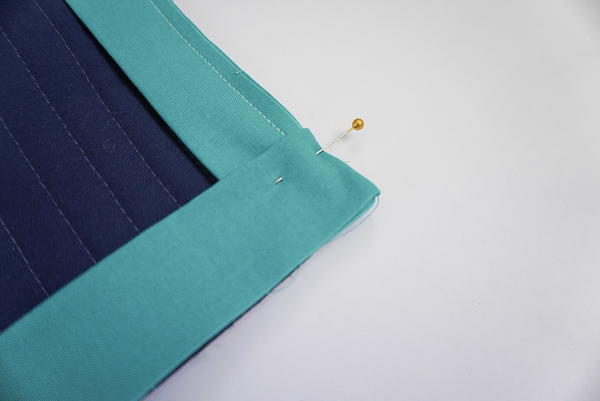
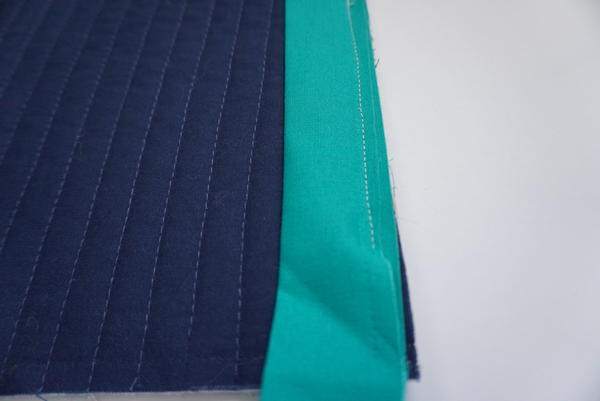
Troubleshoot: Take your time when squaring your quilt sandwich. Avoid jagged trimming that may cause confusion when following the quilt’s edge with your presser foot. Stabilize your mitered corners by pinning the loose folded edge to your quilt before sewing another side.
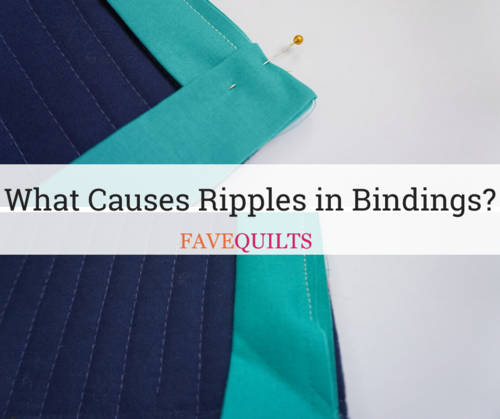
As shown in the image below: Stabilize your mitered corners by pinning the loose folded edge to your quilt before sewing another side.
Insufficient Feed Dogs
Problem: You have insufficient feed dogs on your machine. A binding strip adds two layers to your quilt sandwich making it difficult for the feed dogs to effectively and evenly guide your quilt through the presser foot.
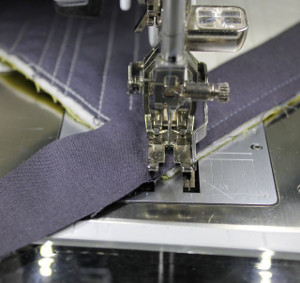
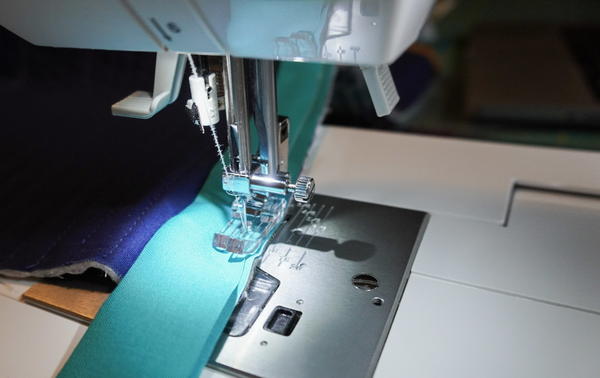
Troubleshoot: Your walking foot attachment is an essential tool when sewing multiple layers of fabric together. This applies to your binding too. You will need to measure and test a ¼ seam allowance before starting, but the added feed dogs will make all the difference in avoiding ripples.
As shown in the image below: Without a walking foot and its additional feed dogs, the binding can easily slip and go askew beneath a patchwork foot.
Speed Sewing and Gravity
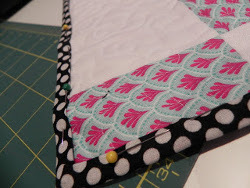
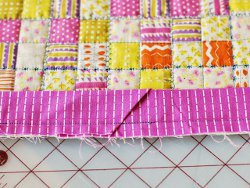
Problem: You are speed sewing and subject to gravity's force. Moving your quilt through your machine and keeping your binding strip straight can be challenging when sewing quickly. The top layer of the binding strip below has pulled away from the quilt’s raw edge as a result of speedy sewing and the quilt’s weighty bulk.
Troubleshoot: Stop sewing, cut the thread and remove the stitches until the raw edges of your binding and quilt are matched. Use a large table to help accommodate the weight of your quilt. Backstitch over your previous stitches to secure them, and continue to attach your binding at a slower speed.
As shown in the image below: The top layer of the binding strip below has pulled away from the quilt’s raw edge as a result of speedy sewing and the quilt’s weighty bulk.
Additional Quilt Binding Tips
If you spot ripples after the binding has been completed attached, unstitch the area to help determine the cause. Did the raw edges of the binding come unmatched? Is the mitered corner folded to create a perfect 90 degrees? Is the edge of the quilt sandwich curved and causing an inaccurate guide?
Should the techniques above not resolve the slack in the binding, cut the affected section until the strip lays flat along the quilt’s edge. Attach a new strip as per usual.
Prevention and frequent visual assessments of your binding while sewing are the best ways to reduce the occurrence of ripples. Ensure even feeding by careful trimming, using a walking foot and slowing your sewing speed. If signs of ripples begin to appear, take action promptly to help get you to that well-deserved finish line!
Cristina De Miranda is the quilter and pattern designer behind Ships & Violins. She is based in Toronto, Canada.
Up Next
How to Square Up a Quilt Block >>>
Now that you've learned how to fix quilt binding mistakes, what other quilting questions do you have?
Let us know in the comment section below!

