Heart Star Block
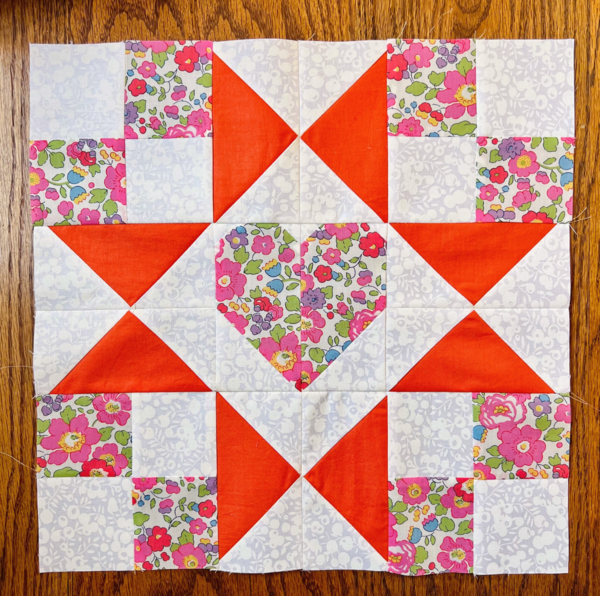
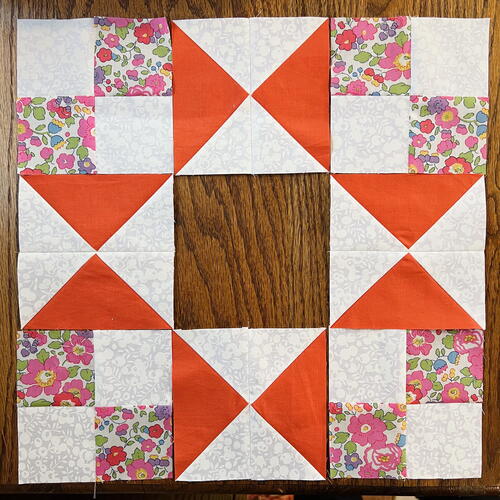
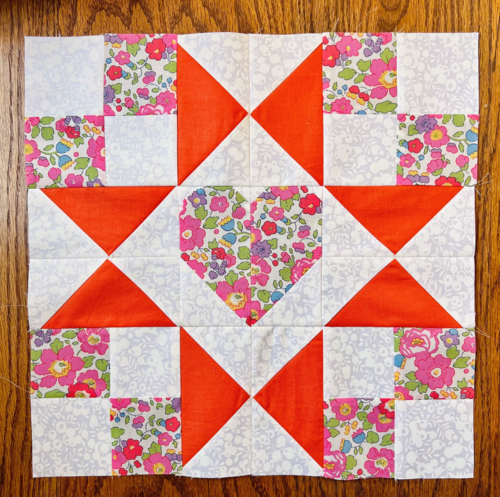
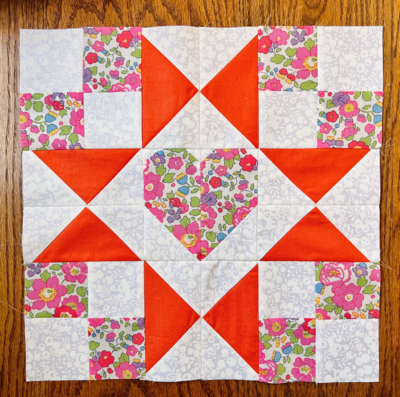
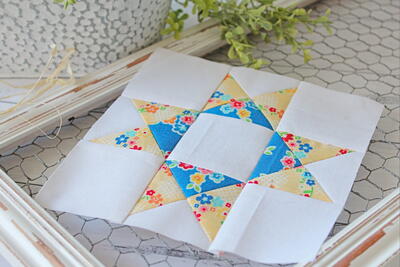
Presenting the Heart Star Block, crafted exclusively for you! Quilt blocks are one of our favorite project types. They are quick, easy, and versatile enough to use for various different projects. This particular block offers endless possibilities – stitch it repeatedly for a charming quilt or integrate it into bags, pillows, or wall hangings. Tailored for Valentine's Day, its heartwarming design adds a touch of love to your patterns. As you embark on crafting with this unique block, envision the myriad ways it can enhance your projects and bring a heartfelt charm to your creations. Enjoy the process of infusing your work with warmth and sentiment.
Time to CompleteIn an evening
Primary TechniqueQuilting

HolidayValentine's Day
Materials List
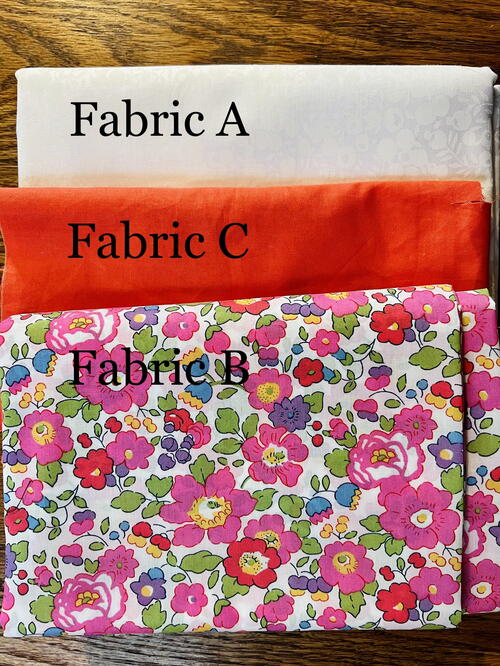
- Three fabrics, less than a 1/4 yard for each
- Basic tools, like ruler, rotary cutter, and mat
- Coordinating thread
INSTRUCTIONS:
-
Cut the following for the corner blocks:
Fabric A: 2.5x20”
Fabric B: 2.5x20”
For the star points:
Fabric A: (8) 3x3”
Fabric C: (2) 5 3/8 x 5 3/8”
For the heart block:
Fabric A:
(2) 2.5x2.5”
(4) 1.25x1.25’
Fabric B: (2) 2.5x4.5” -
Make the corner blocks.
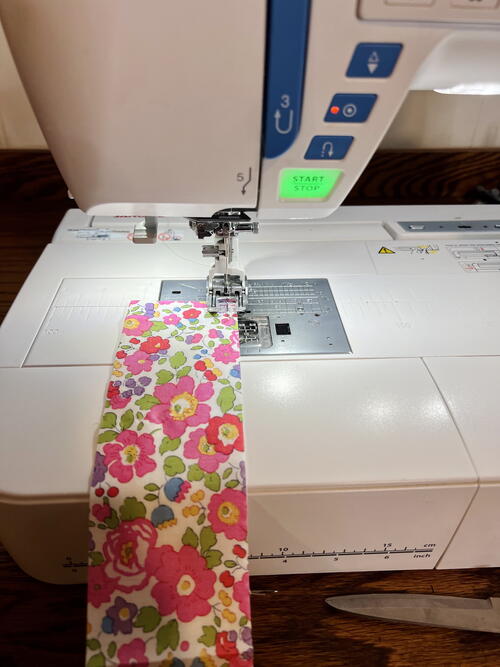
Place the 2.5x20” strips right sides together, and sew a 1/4” seam along the long side. Press the seam toward the darker fabric. -
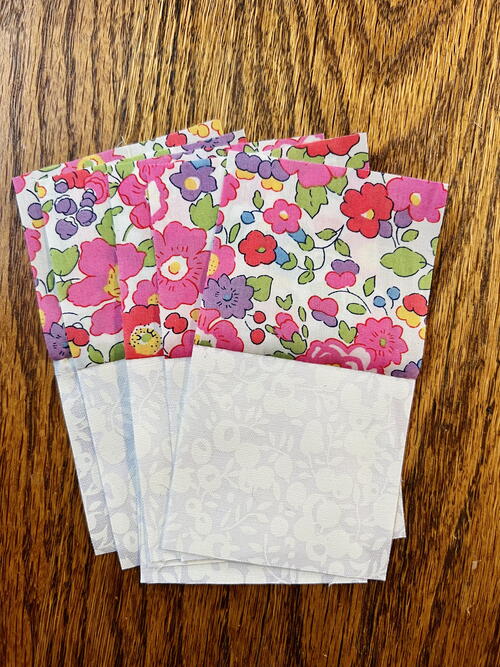
Cut the strip into 8 2.5” sections.
-
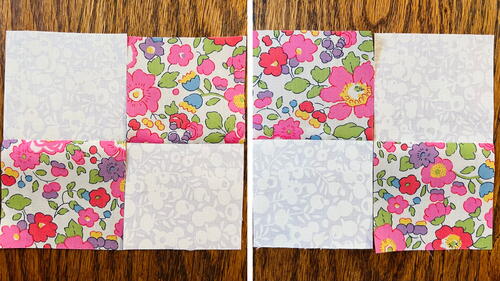
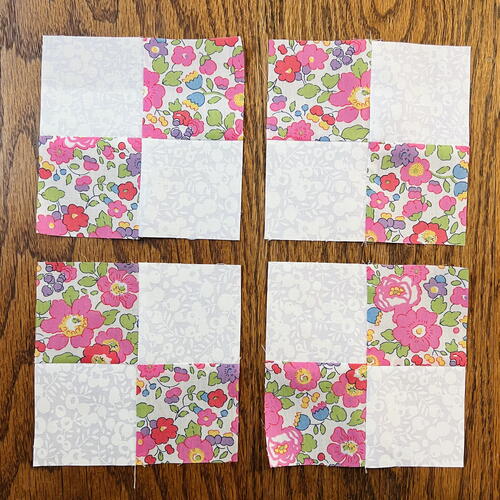
Sew into square units. You should have two of each of the below orientations:
-
Here is what your finished corner sections should look like:
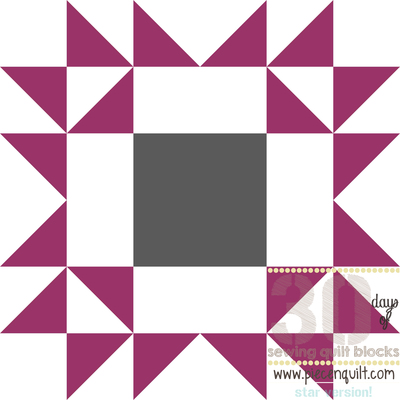
Make the star points
-
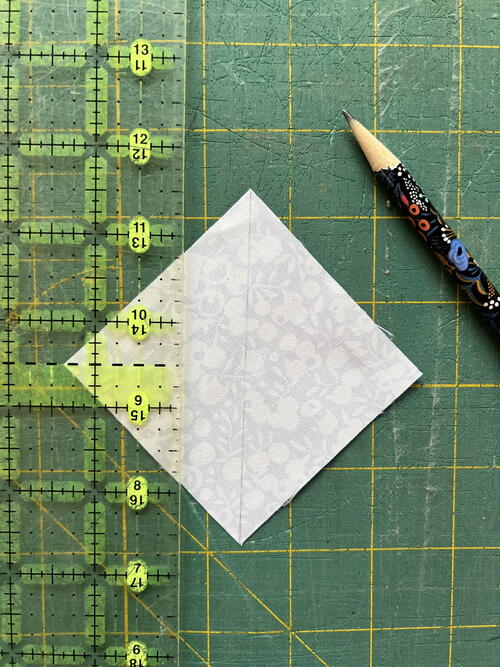
Mark lines through the center on the wrong side of your Fabric A pieces like so:
-
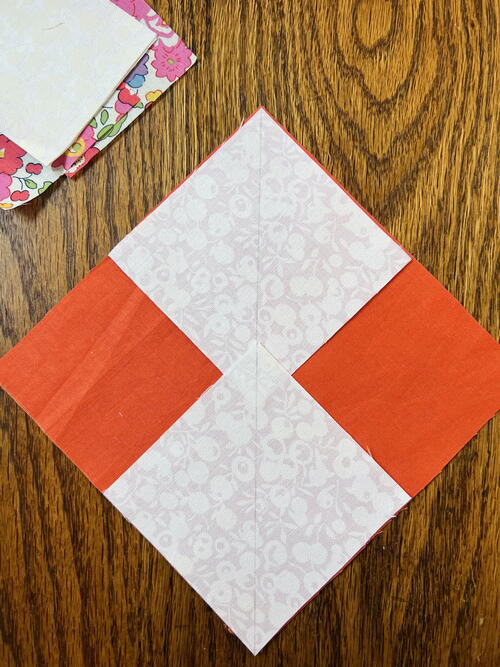
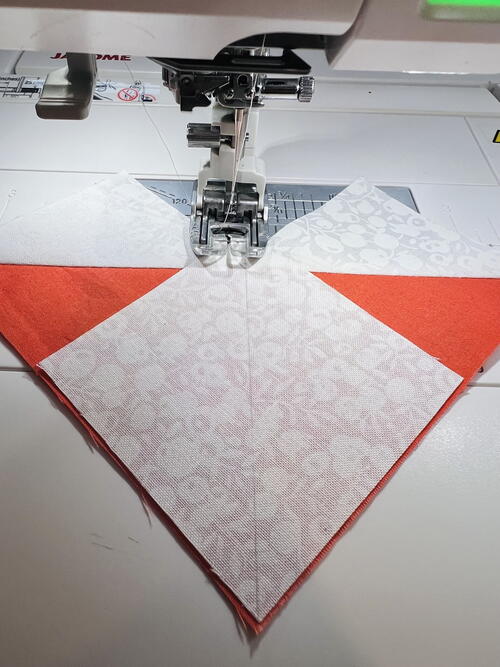
Place 2 Fabric A squares right side down on the Fabric C square, just inside of the larger square. You don’t want it to be quite flush. See photo below.
-
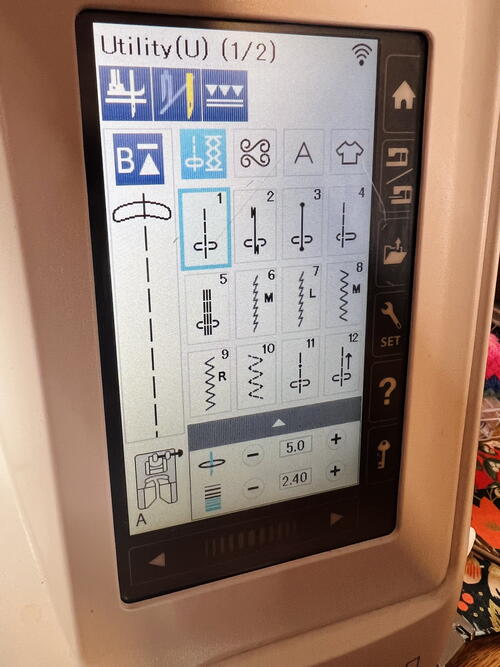
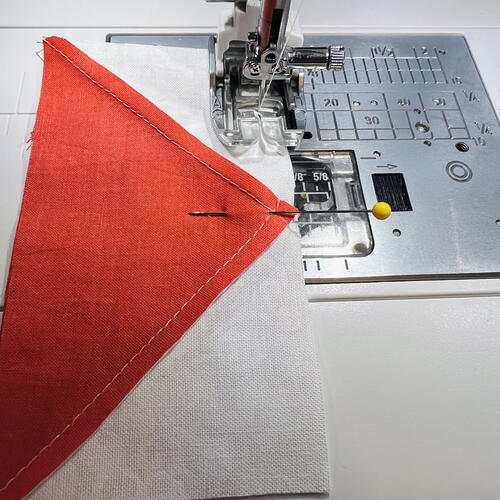
Sew a scant 1/4” seam beside the lines you marked on either side. To sew a scant seam, you can move your needle over slightly. On my machine, 4.5 is the center position, so I moved the needle over to 5, and that gave me a perfect scant seam. Once you sew down one side, turn the square around, and sew down the other side. Repeat with the second square.
-
Cut along the marked line.
-
Press all pieces with Fabric A going away from Fabric C.
-
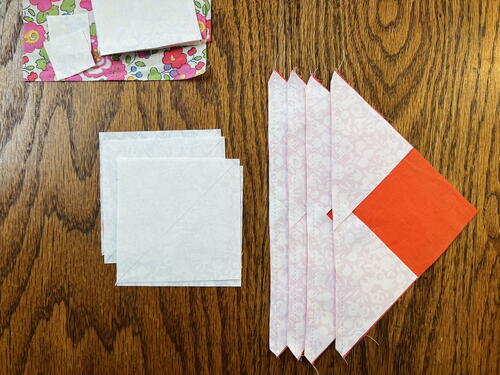
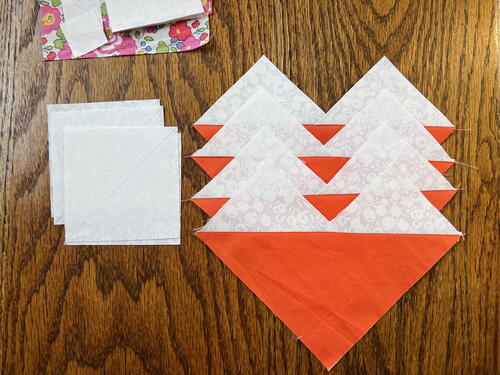
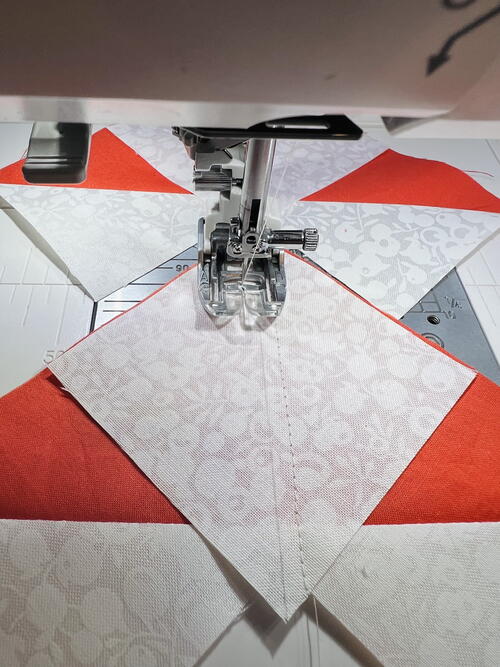
Align remaining small squares onto the four pieces you pressed as pictured:
-
Sew on each side of the marked lines with a scant 1/4” seam.
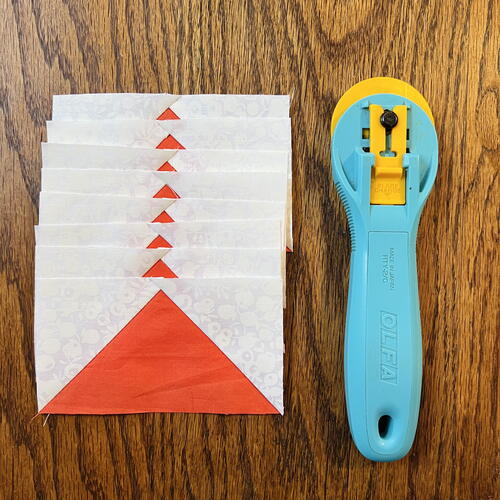
Cut along lines, and press. -
Flying geese, which are what these units are at this point, are made perfect by trimming, so don’t be tempted to skip this step! Trim your blocks to exactly 2.5x4.5” using your rotary cutter and ruler.
-
Finally, place geese units right sides together, so that the points meet. Sew all four units so that you have four star point blocks. Press seam open.
Make the heart block
-
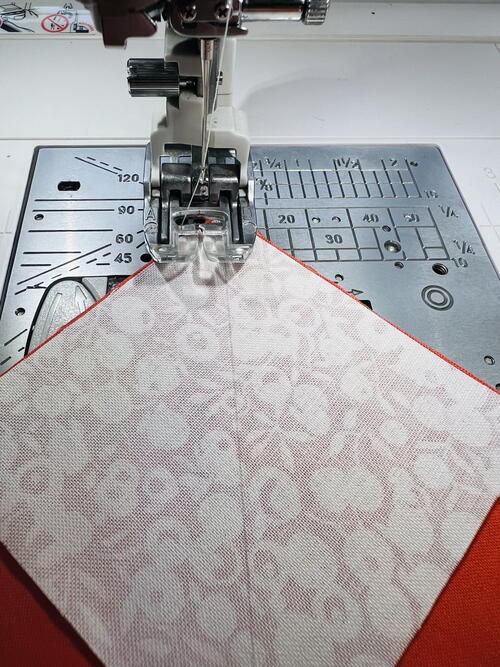
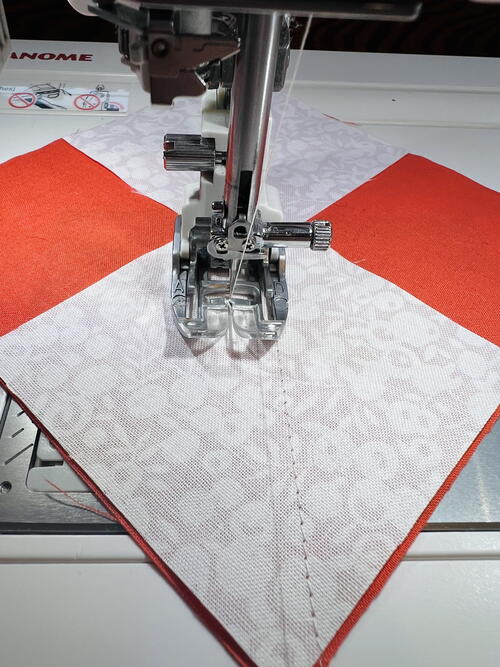
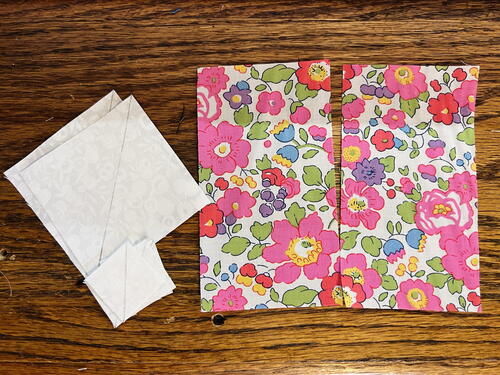
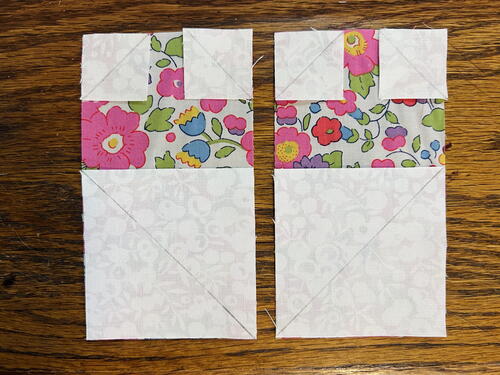
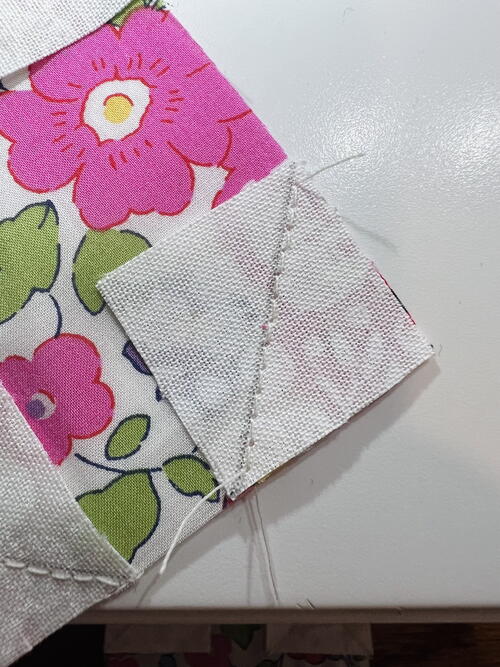
Mark each square, the large and small ones, with lines centered diagonally as you did with the star points before. These will be a bit different because the line you are marking is your stitch line, so mark very carefully.
-
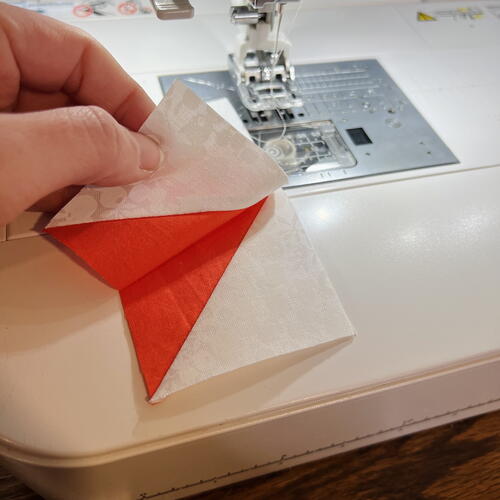
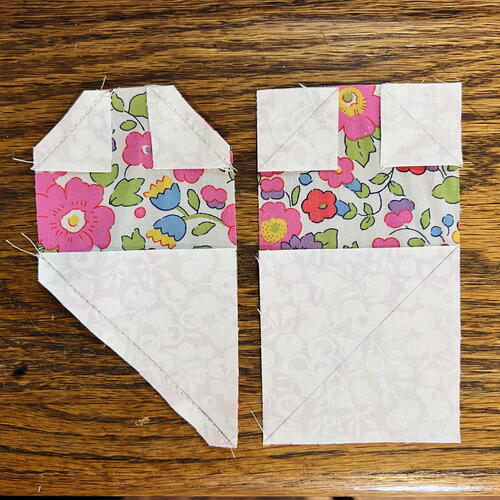
You will be stitching your Fabric A down to the Fabric B in this orientation (see photo below):
-
Stitch along the lines, and then trim seam down to 1/4”.
-
Press.
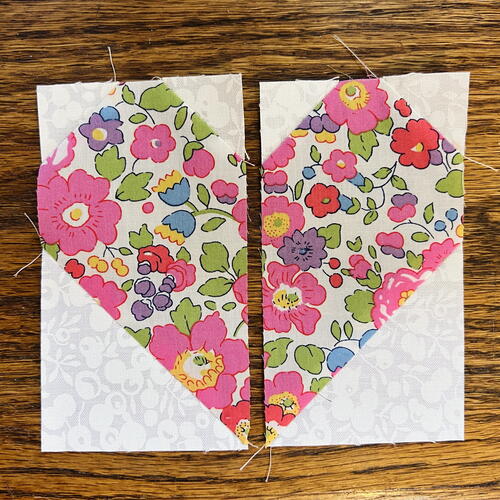
Place heart halves right sides together and stitch with 1/4” seam.
Press open. -
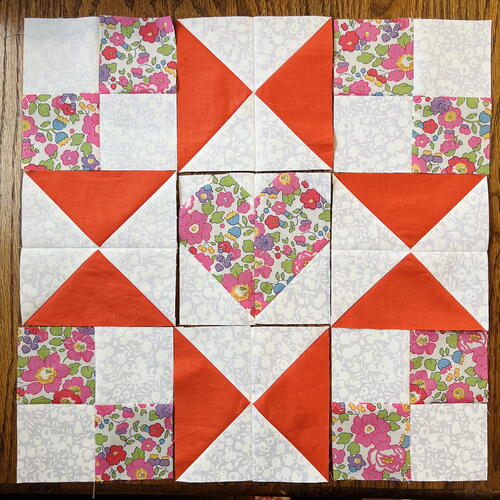
You have now completed all of the components of your Heart Star Block and now we will assemble.
Assemble block
-
Stitch your block together one row at a time. First you will sew the corner, star points, then corner with 1/4” seam.
-
Next you will repeat with the middle and bottom rows.
-
Finally, stitch the rows together with 1/4” seams.
-
You are finished! This block can be used in just about anything, from quilts, to table runners, to pillows. Its very versatile, and I’m excited to see what you create!
-
Your project is finished! If you love this tutorial, be sure to check out Janome.com for even more inspiration.
Read Next9 Patch Quilt Block Tutorial

