How to Sew Prairie Points with Multiple Fabrics + Video Tutorial
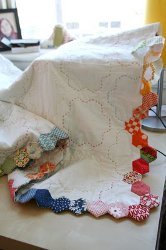
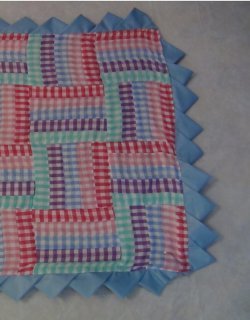
Learn how to sew prairie points using several different fabrics. With this YouTube quilting tutorial, you can make a continuous prairie point border that alternates between one main fabric and any number of other fabrics.
Project TypeLearn a Technique
Time to CompleteIn an evening
Primary TechniqueOther

MATERIALS:
- Main fabric- the length of each side of quilt PLUS 6 inches on each length by 4-1/4” wide strips
- Contrasting or matching fabrics
- sewing supplies
INSTRUCTIONS:
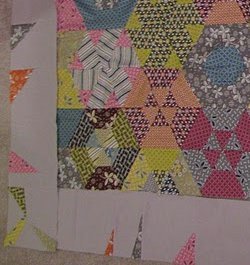
- From main fabric: measure each side of quilt and add 6” for the length of each strip. Cut strips 4-1/4” wide.
- Cut matching/contrasting fabrics into segments 4-1/4” by 4.”
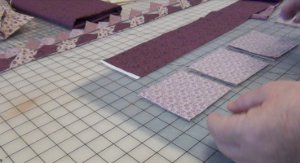
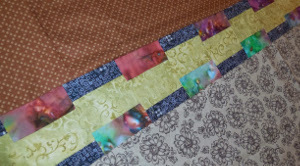
- Sew 4” x 4-1/4” segments onto main fabric, right sides together, with the 4" sides attached to the main fabric and with segments touching but not overlapping.
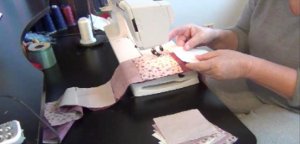
- Press seams.
- Mark 4” segments on main fabric: start 2” in from edge of first 4” segment on opposite side.
- Cut on each mark, being careful not to cut into seam. Clip seam allowances between 4" segments of contrasting fabric, but do not clip into the seam.
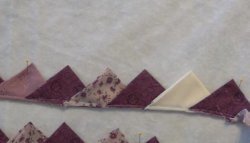
- Starting with first 4” segment, fold corner diagonally; press and pin prairie points as you go.
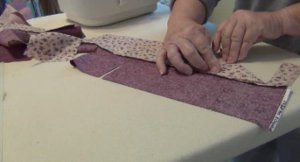
2nd fold: fold 2nd corner diagonally.
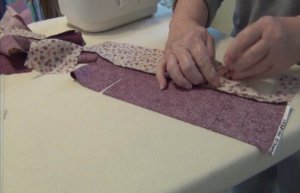
3rd fold: fold corner diagonally on 2nd segment.
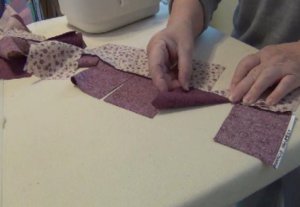
4th fold: fold prairie point #1 up.
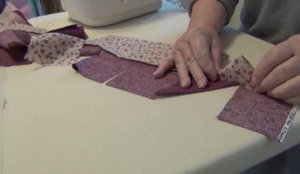
5th fold: fold 2nd corner diagonally on prairie point #2.
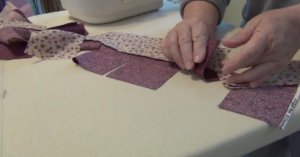
- Continue to end of strip.
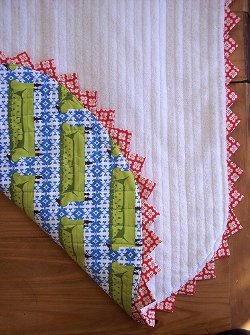
- Sew prairie point strip 1/8” along straight edge.
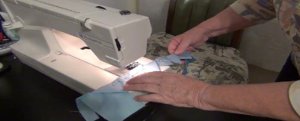
- Pin and sew prairie point strip to quilt top.
- Turn quilt to back, turn under edges of quilt back, and sew around.
Read NextSeminole Patchwork Diamond Border

