DIY Duvet Cover and Matching Shams
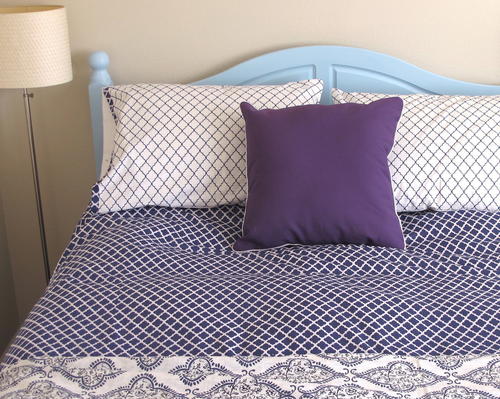
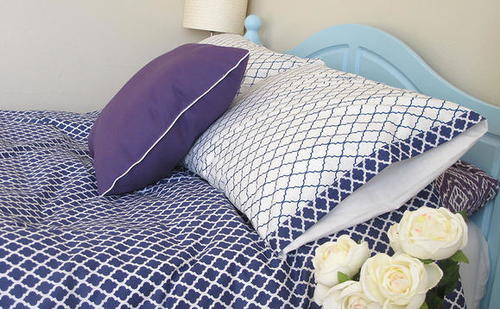
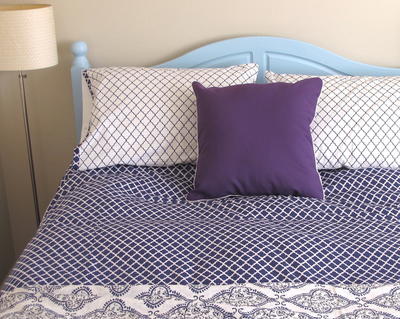
If you’re looking for an easy DIY home decor quilting project, try sewing this DIY Duvet Cover and Matching Shams. Don’t be intimidated by the size of this project—this easy quilting tutorial is a great way to add a personalized finished touch to your room. Try matching the shams to your duvet by using complementary colored patterns, or by pairing prints with solid colors that accent your color palette!
Project TypeMake a Project
Time to CompleteWeekend project
Primary TechniqueQuilting

Materials List
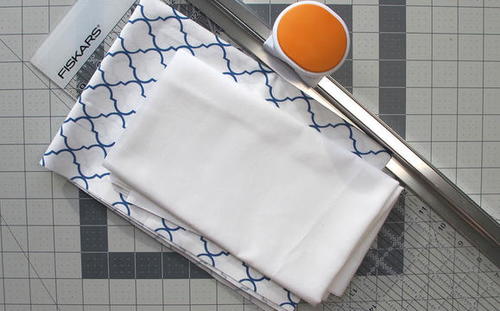
- Rotary Cutter and Ruler Combo (6" x 24")
- Cutting Mat (24" x 36")
- Fabric (approx 12 yards of cotton fabric for a full size duvet cover. Check your duvet dimensions before purchasing fabric. See step 1 for details.)
- Iron and ironing board
- Pins
- Sewing machine and thread
Check out these 100+ home decor quilting projects for more inspiration!100+ Free Quilt Patterns For Your Home: Nine Patch Patterns, Rag Quilt Patterns, Log Cabin Quilt Patterns, Quilt-As-You-Go Patterns, and More
Instructions:
The Duvet Cover
-
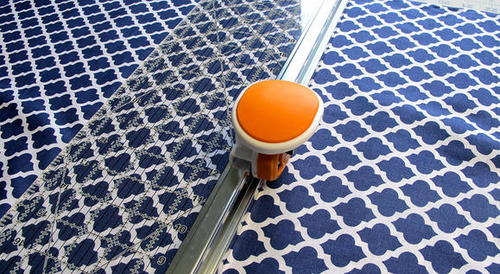
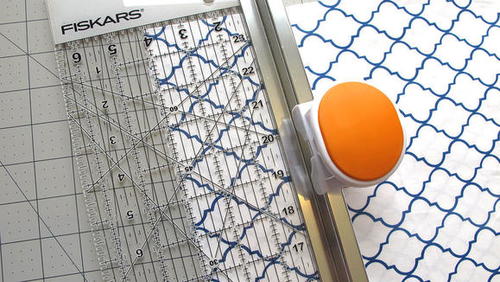
Measure the duvet insert you intend to use. Add 1” to the width measurement to allow a ½” seam allowance on both side seams, and add 3” to the length measurement to accommodate a bottom hemmed opening. Use the Rotary Ruler to trim two pieces (one for the top and one for the bottom) to these dimensions. This two in one tool makes it easy to quickly measure and trim large pieces of fabric.
-
You might need to sew separate panels of fabric together to achieve your desired width of duvet cover since cotton fabric is usually sold at 42” - 44” wide. If that is the case, place one full width of fabric down the center of the duvet cover and join extra fabric lengths to both sides so that you do not have a seam running down the center of the duvet cover. Be sure to match patterns perfectly.
-
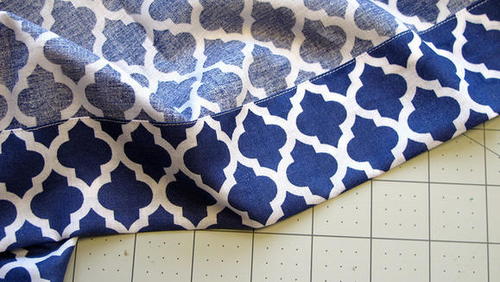
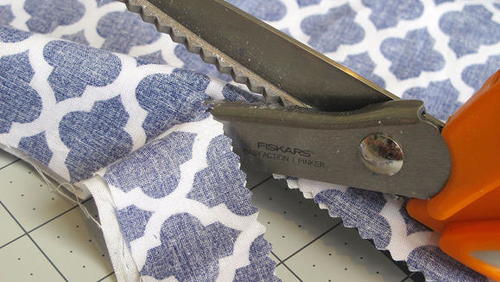
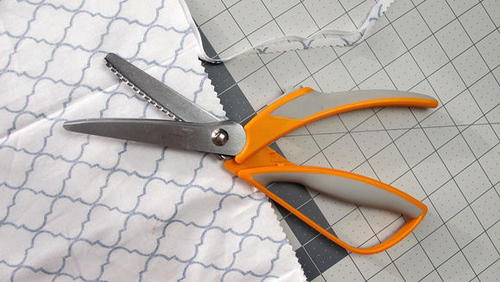
Once you have your extra fabric lengths aligned, sew them to the main panel to create top and bottom pieces for your duvet cover. Your finished dimension should match what you measured in step 1. Finish the seams with pinking shears, and press the seam open. Do not sew the top and bottom pieces together yet.
-
Decide which end will form the opening of the duvet cover. Turn the bottom edge of one of the pieces ½” to the wrong side and press with an iron. Turn the bottom edge a further 2” to the wrong side and press again, hiding the raw edge of the fabric. Sew the bottom hem. Repeat for the other piece of fabric.
-
Lay the top and bottom duvet pieces on top of each other with the right sides of the fabric facing each other. Pin around the two sides and top edge, leaving the bottom, hemmed opening unpinned. Sew the two sides seams and top seam together with a ½” seam allowance.
-
Finish the seams with pinking shears.
-
To create ties for the bottom opening of the duvet cover, use the 6 x 24” Rotary Ruler to cut 8 strips of fabric each measuring 4” x 21”.
-
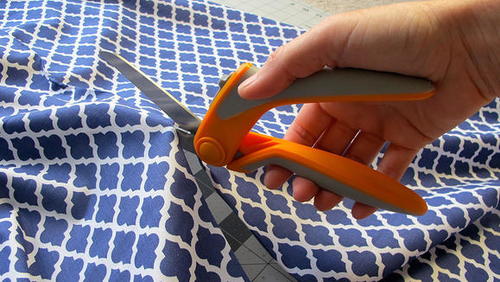
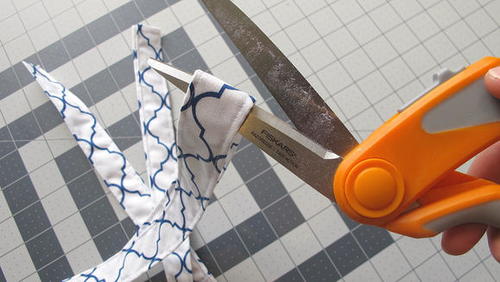
With an iron, press each strip in half lengthwise and open out. Press the raw edges in towards the center fold. Fold in half along the first centerfold to conceal the raw edges and sew the layers together along both long edges. Use the 8” Spring Action RazorEdge Scissors to cut each sewn strip in half to create 16 1” x 11” ties.
-
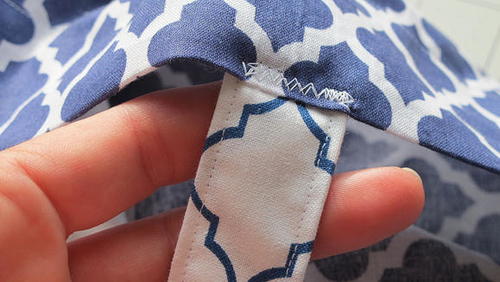
Pin the ties evenly spaced along the top and bottom hemmed opening and sew.
-
Insert the duvet and tie closed.
The Pillow Sham (Standard 20" x 26" Pillow)
-
Cut one piece of main fabric measuring 21” x 28” and one piece of solid backing fabric measuring 21” x 36” using the 6” x 24” Rotary Cutter and Ruler Combo.
-
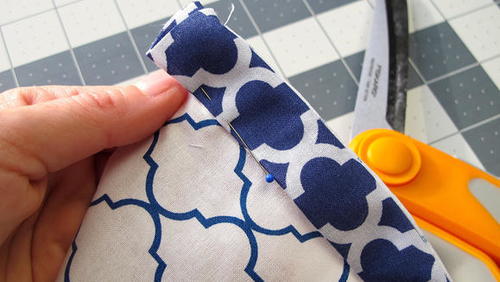
Use the Rotary Cutter and Ruler Combo to cut a 4” wide strip from the same fabric you used for the duvet. Use the iron to press the fabric strip in half lengthwise, then press the raw edges in towards the center fold. Fold in half along the first centerfold to conceal the raw edges and to create a decorative strip 1” wide and 21” long. This strip will be added to the sham as a decorative edge in a later step.
-
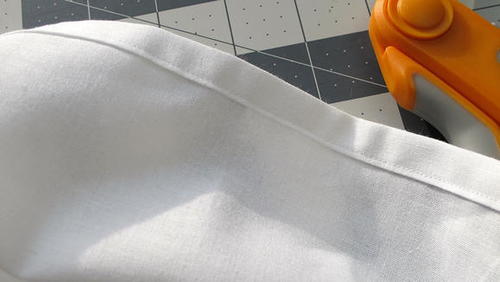
Fold over one short edge of the backing fabric by ½” and press with an iron. Fold over by another ½”, press and topstitch.
-
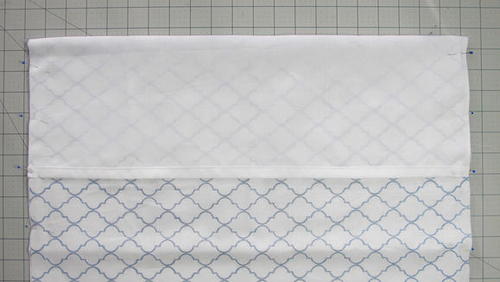
Pin one long edge of your decorative strip to the wrong side of one short end of the main fabric sham piece and stitch in place. Press the strip to the right side and topstitch in place.
-
Place the backing fabric on your work surface with the right side of the fabric facing you and with the finished edge at the top. Place the main fabric on top of the backing fabric with the right side of the main fabric facing the right side of the backing fabric, aligning at the bottom edge. The finished edge of the backing fabric will extend beyond the main fabric at the top. Match the raw edges of the sides and bottom.
-
Fold the excess backing fabric over the pillow sham opening and pin in place along the two sides and bottom edge. When sewn together, this will create a pocket to cover the side of your pillow on the open end of the sham.
-
Stitch around the three sides of the pillow sham with a ½” seam allowance and trim the raw edges with the pinking shears.
-
Turn the sham right-side out and insert your pillow to finish.
Do you have any other ideas for quilted home decor projects? Let us know in the comments below!
Read NextBirch Gnomes Table Runner Quilt

