All Is Bright Quilted Pillow
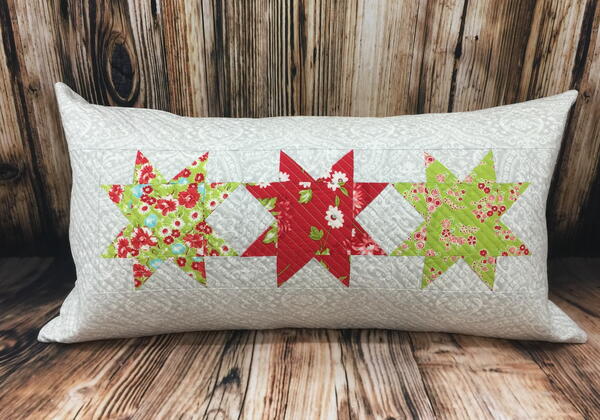
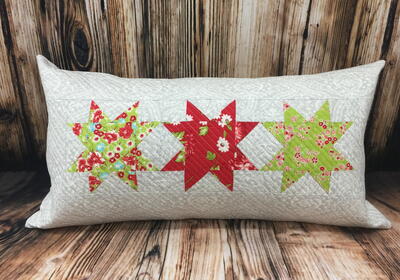
Infuse festive cheer into your decor with the vibrant simplicity of this bright rectangular pillow. The simple design and lively fabrics add a burst of joy to your holiday decorations. Crafted with ease, assemble a handful of flying geese units, and quilt straight lines to bring this pillow to life. The result is a charming addition to your space that effortlessly captures the spirit of the season. Whether placed on a couch, chair, or bed, this pillow serves as a delightful accent, radiating warmth and merriment throughout your home. Embrace the season with a touch of creative simplicity.
Finished size: 12” x 24”
Time to CompleteIn an evening
Primary TechniqueQuilting

HolidayChristmas
Materials List
-
Janome Supplies Required:
- HMC9400QCP
- Dual Feed Foot Holder
- Dual Feed Foot AD
- 1/4” Foot O
- Standard Foot A
- Purple Tip Needle
- Pre-wound bobbin
- Empty Bobbin
-
Fabrics/Notions Required:
- 1 FQ bright green floral fabric (fabric A) sub cut into:
- (4) 2-3/8” square
- (1) 3-1/2” square
- 1 FQ true red floral fabric (fabric B) sub cut into:
- (4) 2-3/8” square
- (1) 3-1/2” square
- 1 FQ bright green and true red mix fabric (fabric C) sub cut into:
- (4) 2-3/8” square
- (1) 3-1/2” square
- 1-3/4 yds. light grey patterned fabric (fabric D) sub cut into:
- (12) 2” square
- (3) 3-1/2” square
- (1) 18” x 30” (back of the quilted pillow top)
- (2) 4-1/2” x 6-1/2” (borders)
- (2) 4-1/2” x 26-1/2” (borders)
- (2) 13-1/2” x 15” (pillow back)
- 1 yd. SF101 woven fusible interfacing sub cut into:
- (2) 13-1/2” x 15”
- 16” x 28” piece of batting
- Coordinating all-purpose sewing thread for piecing and quilting
- 12” x 24” pillow form
- 1 FQ bright green floral fabric (fabric A) sub cut into:
-
Supplies Required:
- Spray baste/basting pins
- Spray starch
- Sewing pins
- Thread snips
- Marking pen/tailors chalk
- Rotary cutter/ruler/mat
- Iron and pressing board
INSTRUCTIONS
Piecing the Flying geese units and assembling the pillow top
-
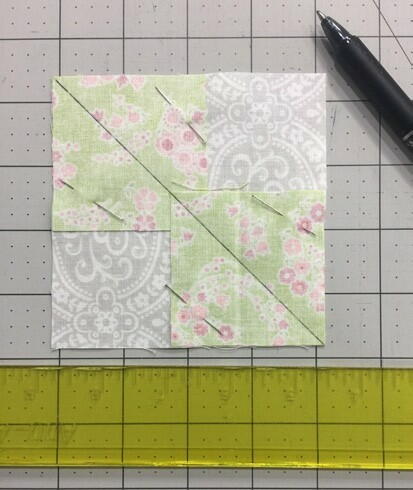
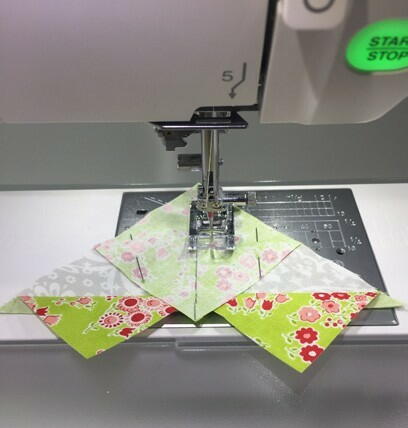
Take one 4.5” square of grey fabric D and place it RSU on a flat surface. Take two of the green fabric A 2-3/8” squares. Place one fabric A square RST matching the top left corner edges of the grey fabric D and pin in place. Take the remaining fabric A 2-3/8” square and place it RST, aligning the lower right corners of A and D fabrics. Pin in place. Using a ruler, mark a diagonal line from the top left corner to the bottom right corner (marking on top of the fabric A squares).
-
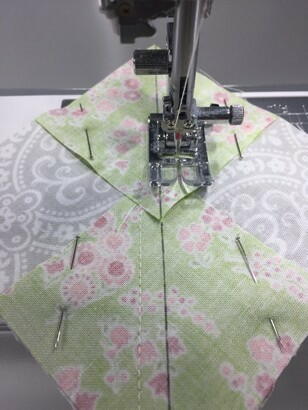
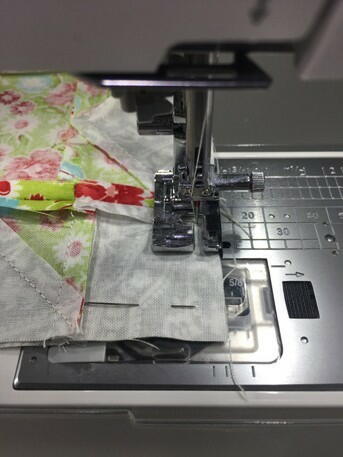
With standard Foot A, sew a line 1/4” away from the drawn line on both sides of the line.
Then, remove the pins.
-
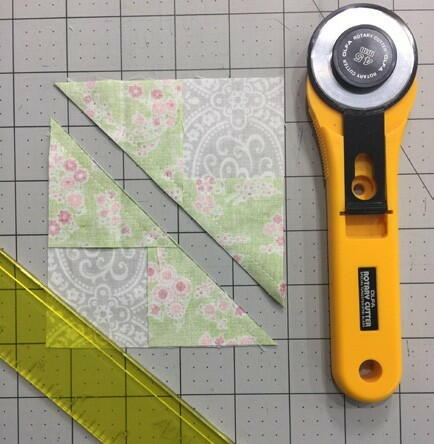
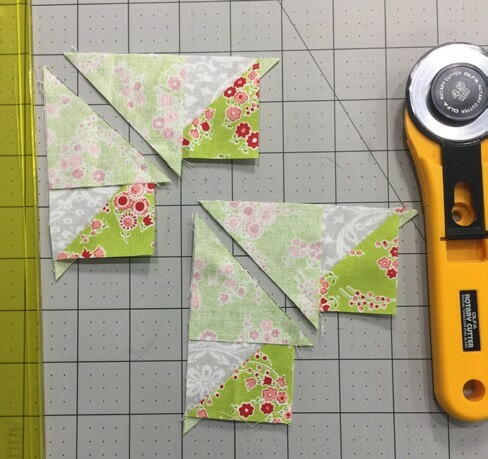
Use a rotary cutter and ruler to cut on the diagonal line previously drawn to separate into two pieces.
-
Press the seam allowance towards the small triangles, away from fabric D.
-
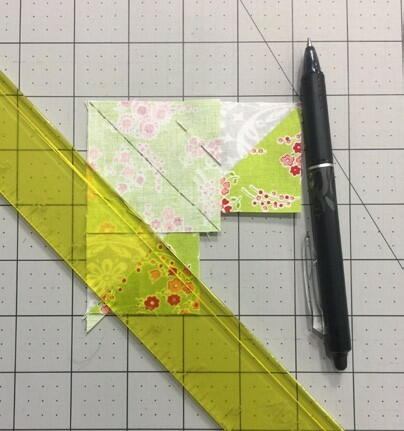
Take the remaining green fabric A 2-3/8” squares and one of the units just pressed, and place the fabric A square in the open corner of the fabric D, RST. Pin in place. Use a ruler and fabric marker to draw a diagonal line from the top left to the bottom right of this square.
-
Sew a line 1/4” from the drawn line on both sides of the line.
Remove the pins and use a ruler and rotary cutter to cut on the drawn line.
-
Repeat with the remaining fabric A square.
-
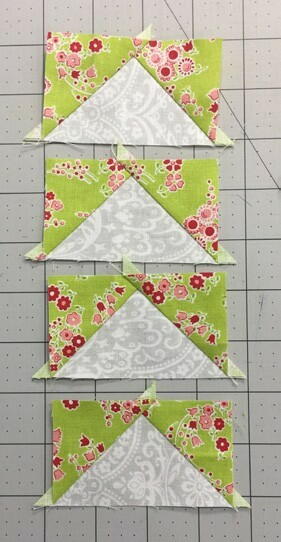
Press the seam away from the grey fabric D to yield four flying geese units.
-
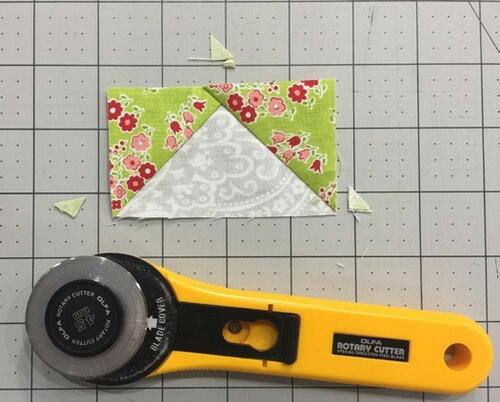
Trim away the small excess triangles from the geese units.
-
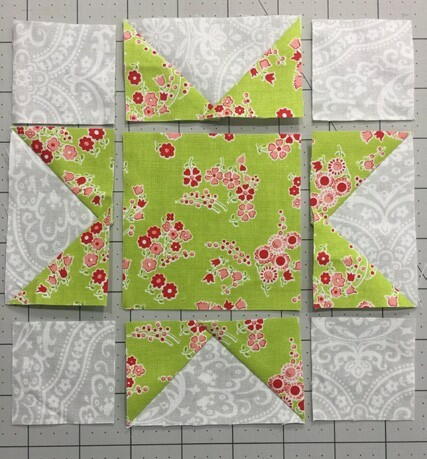
Take the green fabric A 3.5” square and place on a flat surface, RSU. Take the four geese units completed from step 6 and place one directly above, below, to the right, and to the left of the 3.5” square.
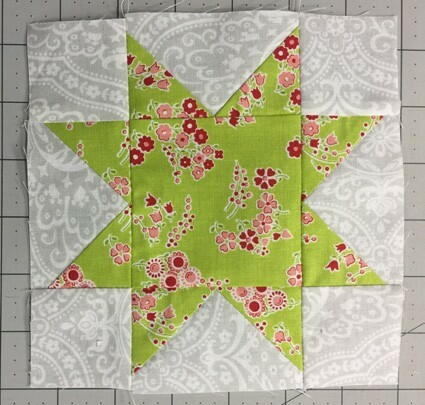
Sew the three pieces in each row together, using a 1/4” seam allowance. Press seams. Sew each row together, completing the block. -
Repeat steps 1-10 with fabrics B and C to get three completed blocks (blocks will measure 6.5” at this step).
-
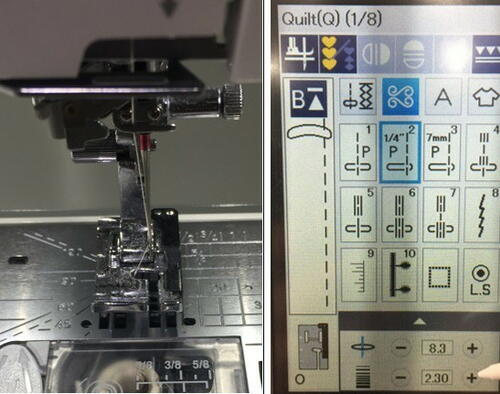
Remove the standard foot A and attach the 1/4” foot O. From the “Quilt” menu, select stitch #2 and change the stitch length to 2.3.
-
Take the three completed blocks and place them side by side in a row of three.
Take the two 4.5” x 6.5” fabric D border pieces and place one to the left of the blocks, and one to the right of the blocks.
-
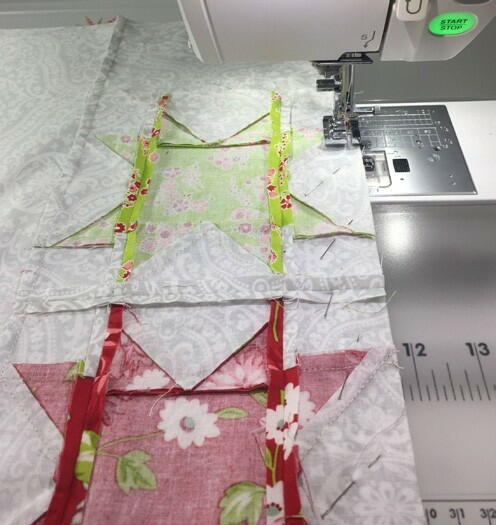
Pin the first border piece to the first block, RST and lining up the 6.5” edges and sew together with a 1/4” seam allowance.
Sew the remaining blocks and border piece together to create one long piece. Press seams.
-
Take the two 5” x 26.5” fabric D border pieces and place one RST with the top long edge of the unit created in step 13. Pin in place and sew together with a 1/4” seam allowance. Repeat with the remaining fabric D border piece and the bottom long edge of the unit created in step 13. Press seams.
Quilting and finishing the pillowcase
-
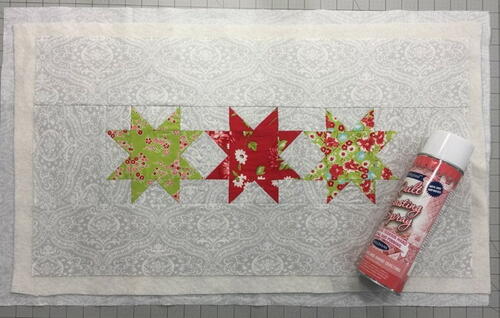
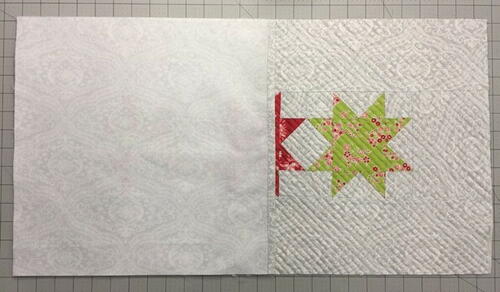
Place the 18” x 30” piece of fabric D right side down and place the 16” x 28” piece of batting centered on top of it. Then place the pieced pillow top centered on top, RSU. Baste the layers together using safety pins or basting spray, following the manufacturer’s instructions.
-
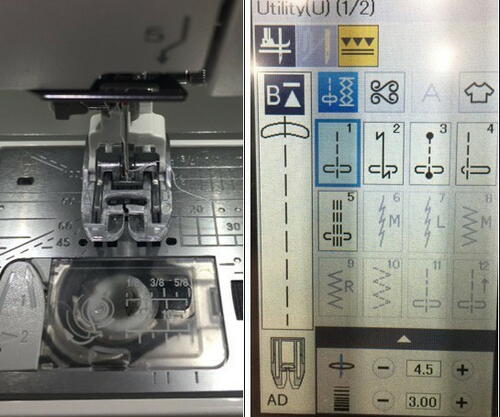
Remove the 1/4” Foot O and attach the Dual Feed Foot AD. To attach the Dual Feed Foot, raise the needle to the highest position and raise the presser foot lifter. Loosen the setscrew and remove the standard foot holder. Attach the dual feed foot holder to the presser bar and tighten the setscrew lightly with your finger. Push the dual feed link to engage it with the upper feed drive. Lower the presser foot lifter, then lower the needle to the lowest position by turning the hand wheel. Tighten the setscrew with the screwdriver.
-
Select the dual feed setting and use stitch #1. Lengthen the stitch length to 3.0.
-
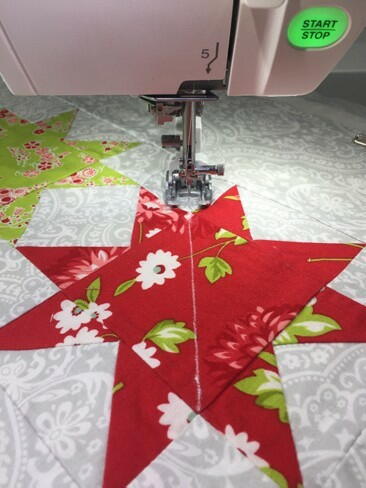
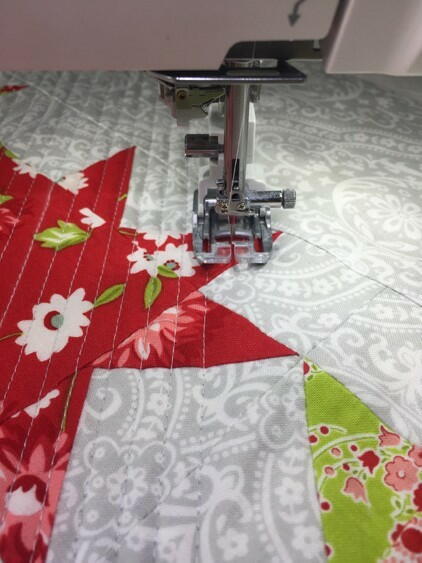
Change the thread to a quilting thread color that coordinates with the background fabric (D). Use a chalk marker to draw a 45 degree diagonal line on the pillow top as a guide line.
-
Now use the edge of the walking foot along your quilting line as a guide for each quilted line after that.
-
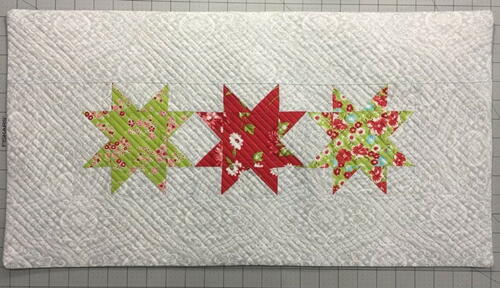
Trim away excess backing and batting and square up the quilted pillow top to measure 13.5” x 25.5”.
-
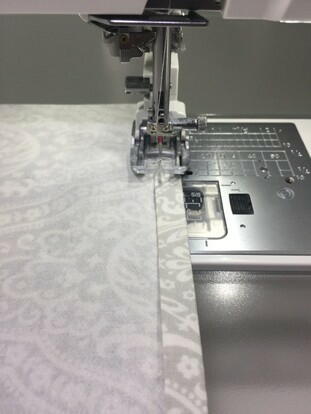
Take the two 13.5” x 15” pieces of fabric D for the back envelope pieces and the coordinating pieces of SF101 and fuse them together (fusible side of SF101 placed together with the wrong side of the fabric D pieces), following the manufacturer’s instructions. Take one of the pieces and on one 13.5” edge, measure and mark 3/4” away from the edge. Fold the raw 13.5” edge of the fabric (WST) over to meet the 3/4” line. Press. Fold again once more to encase the raw edge and pin in place.
Topstitch the folded edge.
Repeat for the remaining backing piece. -
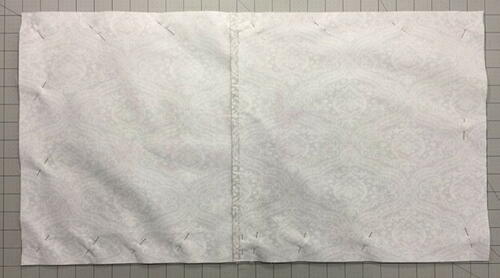
Place the quilted pillow front RSU on a flat surface. Take one of the hemmed pillow back pieces and place it RST with the quilted pillow front, with the hemmed edge towards the center of the pillow front. Line up the raw edges on the sides and pin in place.
-
Take the remaining hemmed pillow back piece and place it on the opposite side of the pillow front, RST. The two hemmed edges will be overlapping.
Pin in place. -
Sew around the entire perimeter of the pillow with a 1/4” seam allowance.
-
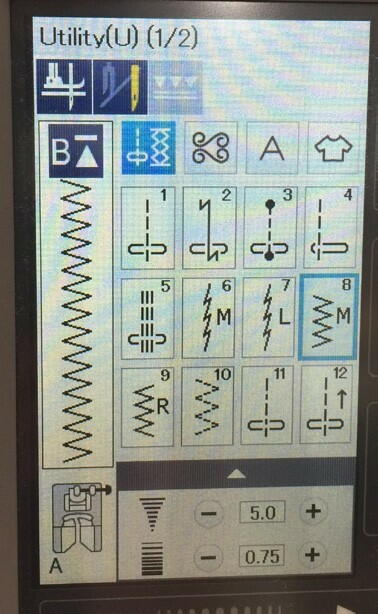
Change the presser foot to the standard foot holder and insert standard foot A. Select the dual feed button again and select stitch #8 and widen the zig zag stitch setting to 5.0 and .75.
-
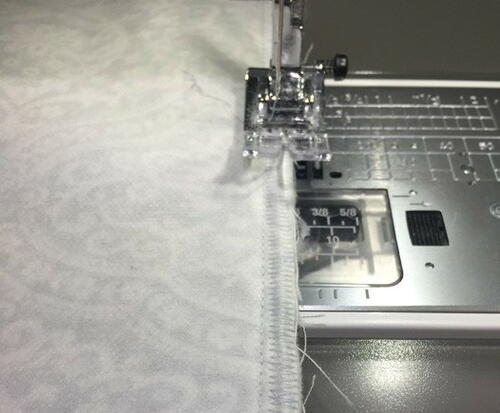
Trim the corners from the pillow, being careful to not clip into the seam allowance. Zig Zag stitch the 1/4” seam allowance all the way around the pillow to prevent the allowance from fraying.
-
Turn the pillow case RSO and press, using a small amount of spray starch if needed.
-
Insert the pillow form through the back envelope closure and enjoy!
-
Your project is finished! If you love this tutorial, be sure to check out Janome.com for even more inspiration.
Read NextVictorian Vintage Quilt Heart Pillow

