Bias Tape Part 4: Sewing the Tape

Sewing Bias Tape
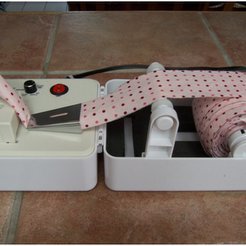
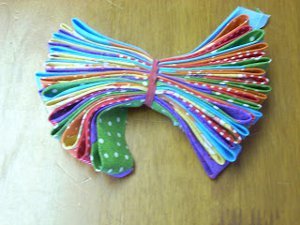
Whether you've made patterned bias tape using a double fold bias tape maker or a bias tape tool, this tutorial from Deborah Schlegel will give you tips for quilt binding using homemade bias tape. Method 1 works best for small items and Method 2 is best for thicker quilts.
Project TypeLearn a Technique
Time to CompleteIn an evening

Materials:
- Sewing machine and coordinating thread
- Needle and thread for hand sewing
- Homemade bias tape from Part 1, Part 2, and/or Part 3
- Pins
Instructions:
Method 1:
-
Encase the fabric edge in the bias tape, making sure the long side of the bias tape is on the back and the shorter side is on the top (or the side you'll be stitching from).

- Sew close to the fabric edge of the bias tape edge.
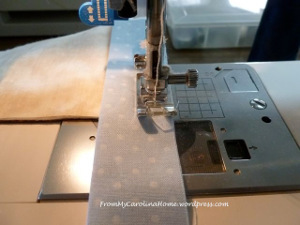
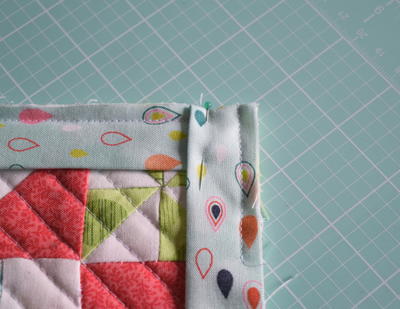
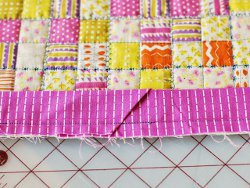
Method 2 (best for quilts):
-
Open up the bias tape.
-
Put the right side of the tape to the right side of the fabric. Sew using the fold on the bias tape as a seam guide.


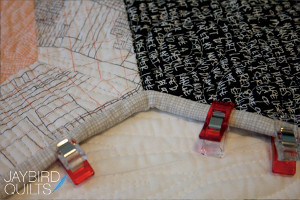
-
Fold the rest of the bias tape over the seam and hand sew in place.

Read NextEasy Peasy Binding Tutorial