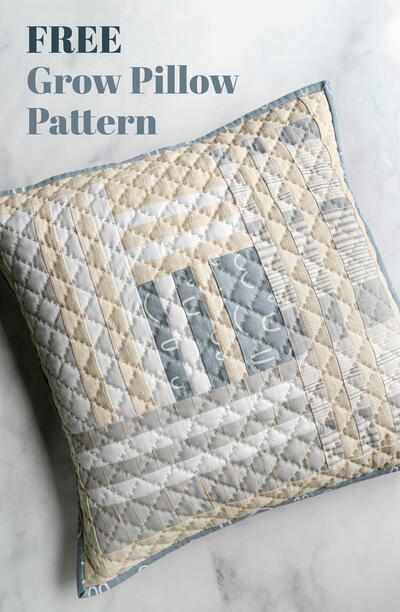
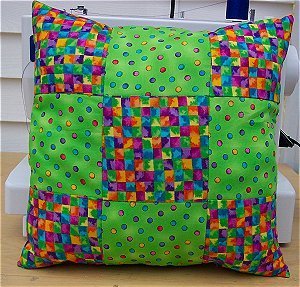
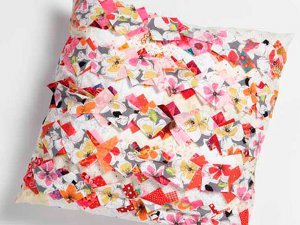
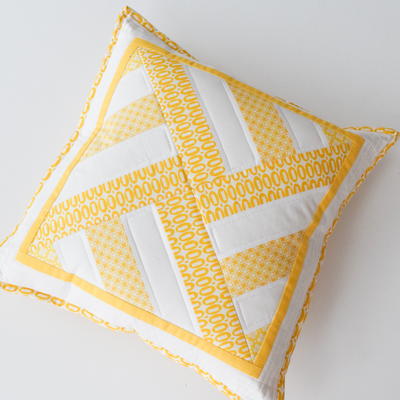
How to Make a Patchwork Pillow

If you're brand new to quilting and patchwork, free patchwork pillow patterns like this one are a great place to start. The How to Make a Patchwork Pillow tutorial will get you familiar with piecing squares and adding a border. DIY pillows can save you a lot of money in the long run because pillows, despite being easy to make, can be expensive. You can sew expensive-looking pillows that match your existing or ideal home decor perfectly for less time and money than looking for them and buying them at the department store.
Project TypeMake a Project
Quilt Size15.5 inches wide x 15.5 inches long
Time to CompleteIn an evening
Primary TechniquePieced

Materials:
- 18 - 5" x 5" cotton quilting squares in assorted prints
- approximately 18" x 25" plain cotton fabric for borders (I used natural linen)
- polyester filling
- sewing essentials such as matching thread, needle, sewing machine, ruler, marker, pins, etc.
Seam Allowance: 3/8" throughout
Instructions:
- Cut plain cotton fabric in the following manner:
4 pieces - 2-3/4" x 13-1/2" for top and bottom edges of pillow
4 pieces - 17-1/2" x 2-3/4" for right and left sides of pillow
- Position nine squares into 3 rows of 3 squares each row until desired layout is achieved.

- Assemble top row by stitching the squares right sides together. Press the seams down to the right.


- Stitch the middle and bottom rows in the same way. Press the seams down in alternating directions.

- Stitch rows right sides together along the long sides to complete the 3 by 3 patchwork square. Be sure that all seamlines are aligned. Press the horizontal seams open.


- With right sides together, sew top and bottom strips to patchwork square. Press top seam upward and bottom seam downward.


- With right sides together, sew right and left strips to the patchwork square. Press right seam to the right and left seam to the left.


- Repeat steps 2 to 7 for the other side of the pillow using the remaining squares and strips.

- With right sides together, sew front and back of pillow all around but leave a 3" opening in the bottom for turning. Clip corners.


- Turn pillowcase right side out, pushing corners out well. Stuff firmly with polyester filling.

- Slipstitch the opening closed.

- There you have it, you're all done! Easy, wasn't it? Enjoy your new, one-of-a-kind patchwork pillow!

Read NextHow to Make a Quilted Pillow Cover
Your Recently Viewed Projects
Thanks for your comment. Don't forget to share!
Tammy
Mar 03, 2017
I have not made a pillow, but this gave me the idea of making some for our sofa and then making a matching quilt to match....maybe just a bit larger than a lap quilt. . The possibilities are endless for home decor with this. Interesting I have never even thought of making a pillow. Well that has all changed mow. I have a feeling my family room is about to go through a make over!
Member 5977176
Jul 25, 2014
Great Article on making patchwork pillows! I'll follow the same procedure. I didn't came across before I bought pillows from www.royalfurnish.com Thank you so much.
daniellec2003 2473 028
Sep 11, 2012
in stead of sewing it i am going to put some kind of fasner on it so it can be taken off when it get dirty it can be cleand
Noelleclay51 08440 19
Aug 08, 2012
Very clear and easy to follow, I will be trying this myself.
Report Inappropriate Comment
Are you sure you would like to report this comment? It will be flagged for our moderators to take action.
Thank you for taking the time to improve the content on our site.