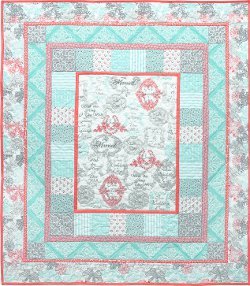
Mommy's Little Sweetie Baby Clothes Quilt
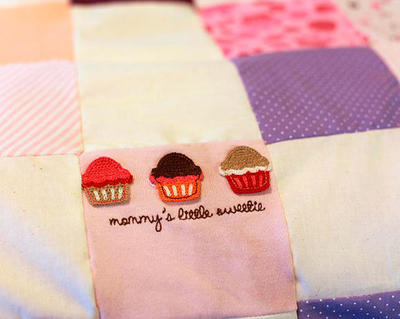
Kids grow up so fast, but for quilters, this can be a fun opportunity to use old baby clothes and make the Mommy's Little Sweetie Baby Clothes Quilt. Few memory quilt ideas will be quite this touching to complete, and refashioning the clothes into cute little additions to an easy quilt pattern. There are plenty of ways to personalize this memory quilt even further; if you're skilled in embroidery or enjoy making applique patterns, this project gives you plenty of space to work with.
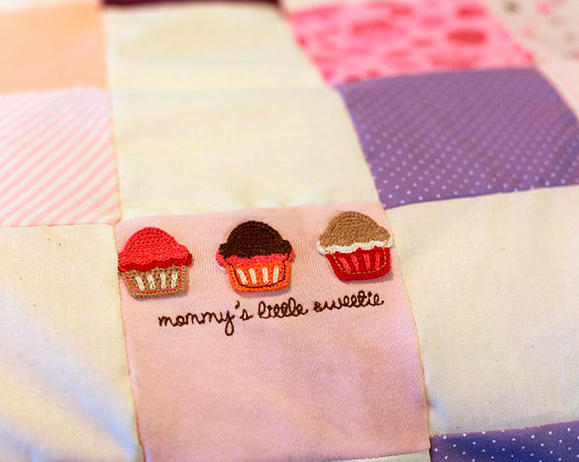
Materials:
- Fabric
- Sewing machine
- Old baby clothes
- Batting
Tools:
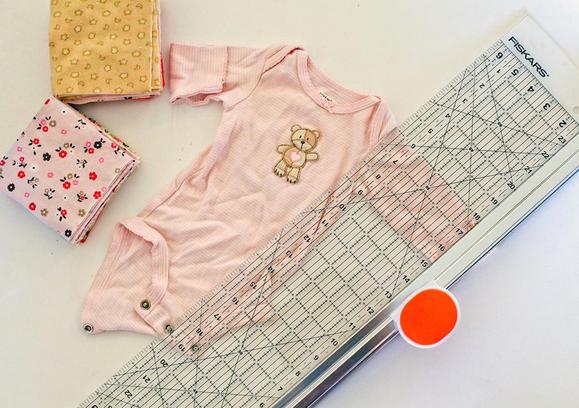
- Rotary Cutter and Ruler Combo (6" x 24")
Instructions:
1) Kids grow out of their clothes so quickly! Yet, I find it very hard to throw away some of these really adorable clothes. Most of them have stains or small tears and wouldn’t be reusable. So I decided to cut into them and use them as fabric to make a memorable quilt.
I used the Rotary Ruler to cut 4 by 4 inches (plus seam allowance) squares from the onesies. Newborn clothes are really tiny, and I found it hard to get squares of fabric larger than 4 inches.
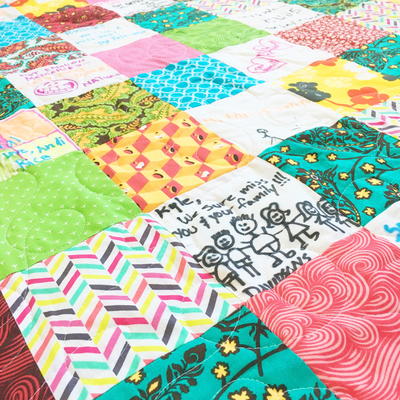
Cut squares depending on how large you want your quilt to be. This step will probably take the longest time, simply because each outfit will probably have a story behind it and you will just spend minutes staring at that tiny little outfit wondering how your kid ever used to fit into something that small…
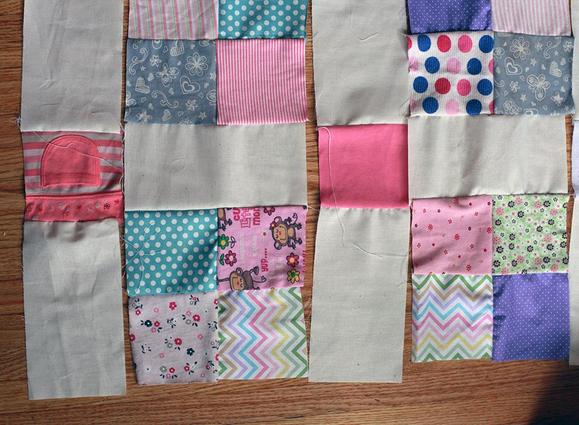
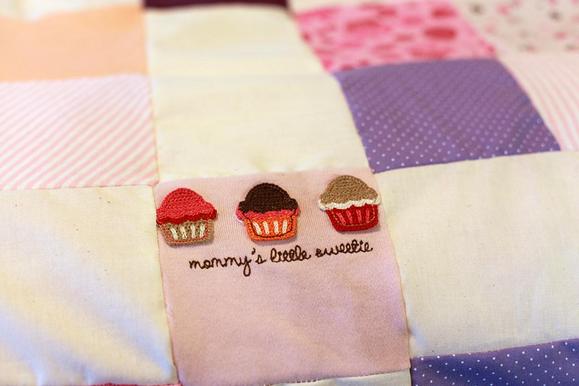
2) Next, I also cut out 4 by 8 inch (plus seam allowances) rectangles from some plain cream cotton fabric. I was initially going to make this quilt only with fabric cut from old baby clothes. But while cutting them I realized that these jersey fabrics would not stay true to size and would need something to stabilize them. You could also use a thin gauze alternately and sew each block with the gauze as a backing so that it retains its true square shape. I used plain cotton fabric as blocks in between so that it would also break up the patterns of the baby clothes and at places highlight the little embroideries that might be there.
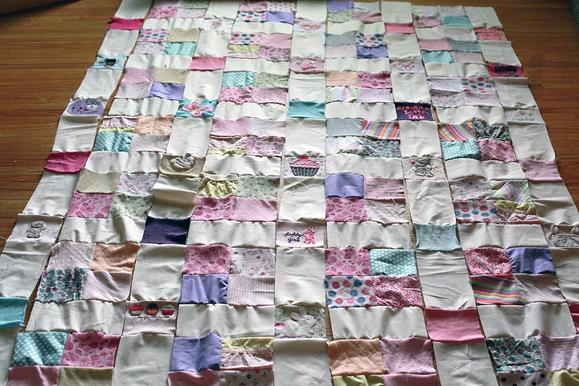
3) Continue sewing blocks together till you have built the entire quilt front.
4) Sandwich the quilt front with interface and add a simple backing. Quilt layers together. I tied my layers together for a simple look.
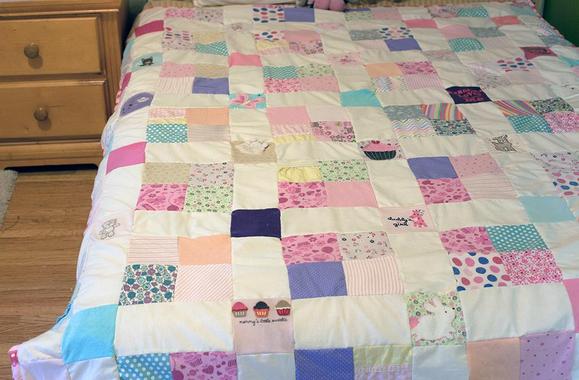
And that’s it! Now you can preserve those little baby clothes forever.
Your Recently Viewed Projects
Sweetolyve
Sep 23, 2014
This is such a sweet idea. One that I will certainly do one day. Thank you so much for the tutorial and all the work you put into it.
Report Inappropriate Comment
Are you sure you would like to report this comment? It will be flagged for our moderators to take action.
Thank you for taking the time to improve the content on our site.

