Moon Garden QAYG Quilt Block
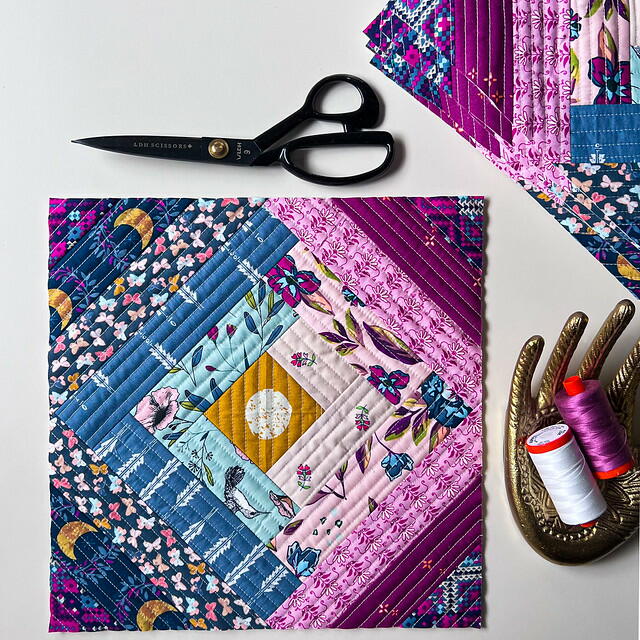
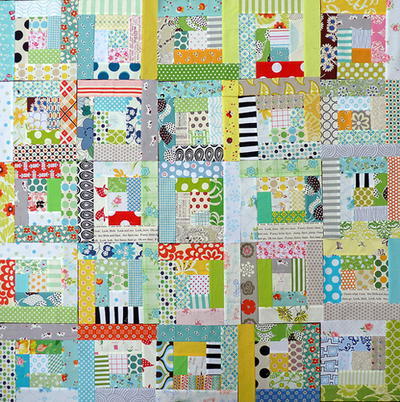
Enjoy the magic of the quilt-as-you-go technique when you create the captivating Moon Garden Quilt Block Pattern. This delightful project offers a modern twist on the beloved classic log cabin style block, giving this quick and easy quilt block a fresh vibe that quilters of all ages will love. Updating a well-known quilting tradition is something truly special, as it brings to life a unique piece that reflects both tradition and contemporary flair. Let the magic of the QAYG method unfold as you craft this bewitching pattern that not only captivates the eye but also offers something new and different to your repertoire. Keep scrolling to see the completely free step-by-step tutorial or print out your own copy to read at your leisure today.
MaterialsFabric

Materials List
- Janome Sewing Machine (Horizon Quilt Maker Memory Craft 15000)
- Walking foot (optional)
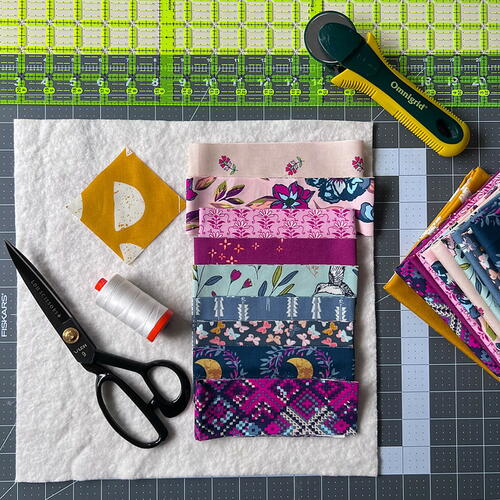
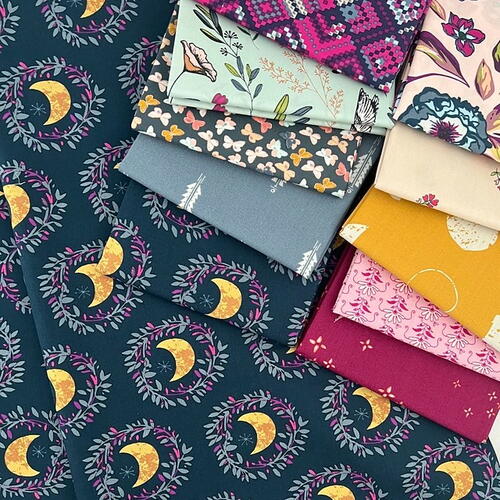
- Fabric -- a mix of ten prints/solids (Half Yard Maureen Cracknell Designer's Palette for AGF)
- Cotton quilt batting measuring 13" square or larger (Hobbs Tuscany Supreme 100% Unbleached Cotton)
- Neutral thread (Aurifil 50wt 2021 Natural White)
- Scissors or rotary cutter/mat
- Iron (optional)
INSTRUCTIONS
Cutting the fabrics:
-
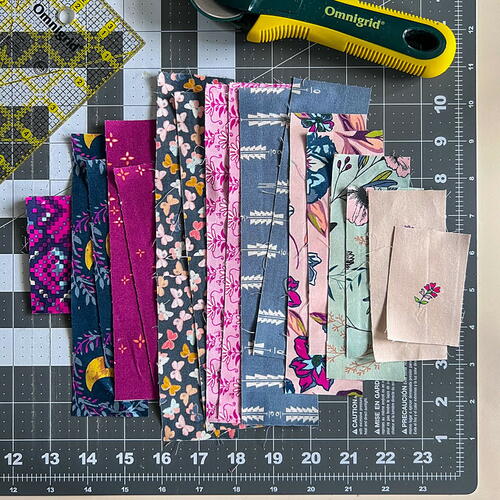
Fabric 1 -- cut one 3" square
-
Fabric 2 -- cut one 2" x 3" and one 2" x 4.5"
-
Fabric 3 -- cut one 2" x 4.5" and one 2" x 6"
-
Fabric 4 -- cut one 2" x 6" and one 2" x 7.5"
-
Fabric 5 -- cut one 2" x 7.5" and one 2" x 9"
-
Fabric 6 -- cut two 2" x 9"
-
Fabric 7 -- cut two 2" x 9"
-
Fabric 8 -- cut one 2" x 6" and one 2" x 7.5"
-
Fabric 9 -- cut one 2" x 6" and one 2" x 7.5"
-
Fabric 10 -- cut four 2.5" x 3"
Quilt Block Assembly:
-
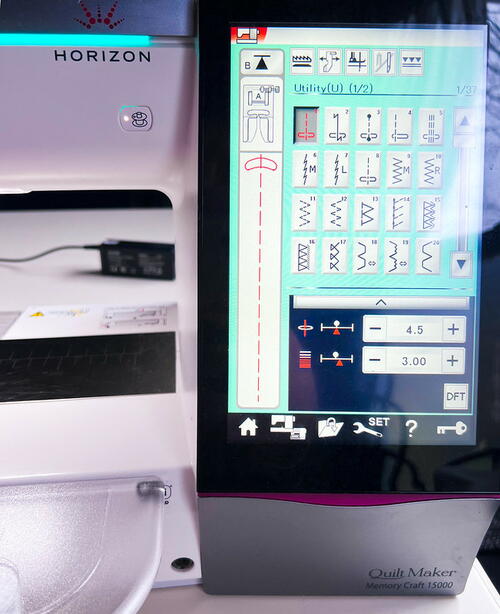
Begin by setting the Utility straight stitch on your Janome at 4.5 width (standard on my machine) and a length of 3.0.
-
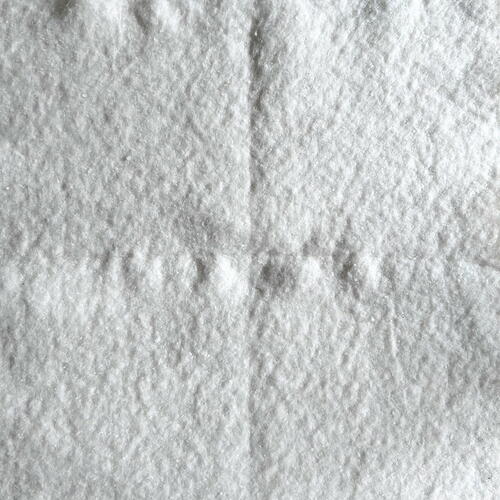
Next, prepare the 100% cotton batting square and be sure it measures a 13" square or larger. Use a mat, ruler and pen, or fold to finger press a crease, to mark the center of the batting square.
-
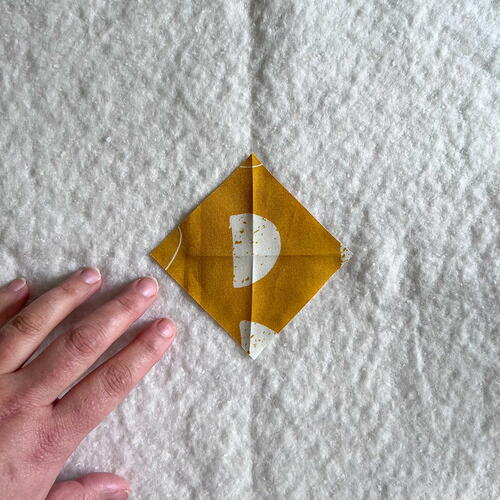
Place the 3" square of fabric at the center of the batting square, crease the fabric piece if needed to match up with the batting center. Pin fabric in place.
-
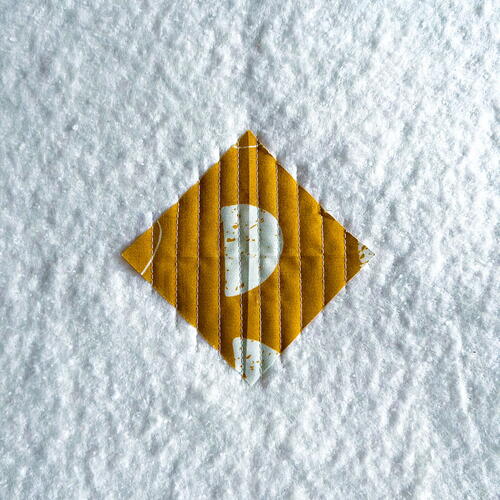
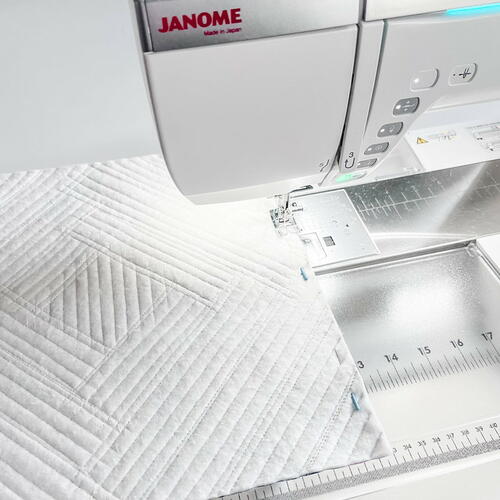
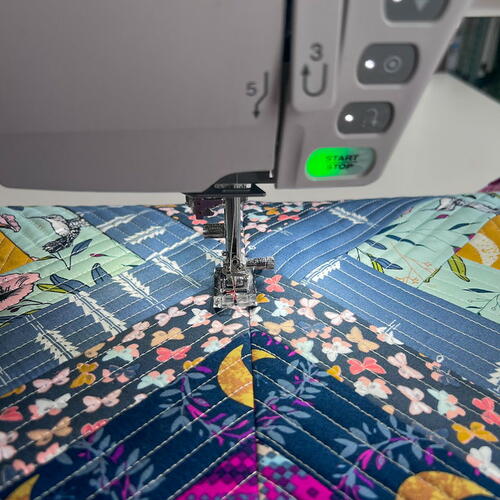
Using your Janome sewing machine, sew straight lines spaced 1/4" to 1/2" apart to quilt to attach the center fabric to the batting.
-
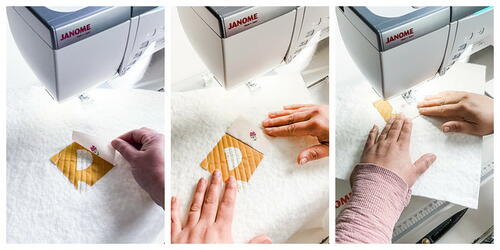
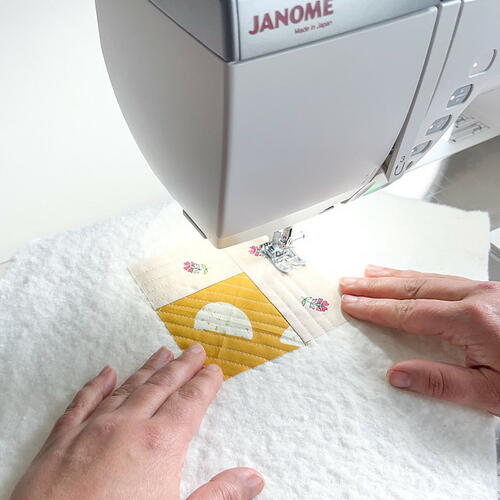
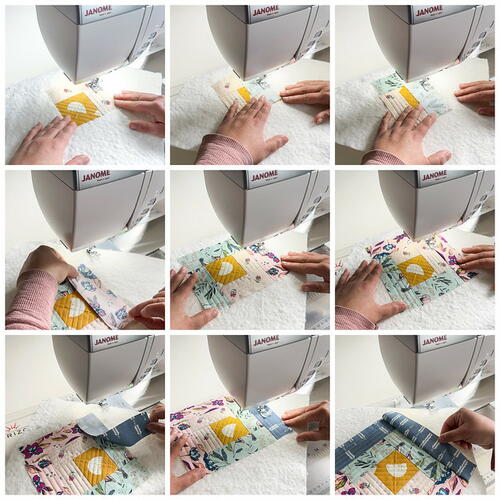
Next, place the Fabric 2 piece measuring 2" x 3" on top of the center fabric with right sides together, matching raw edges. Attach the piece using a 1/4" seam, flip and use iron or simply finger press open. Again, sew straight lines spaced 1/4" to 1/2" apart to quilt to attach that fabric to the batting.
-
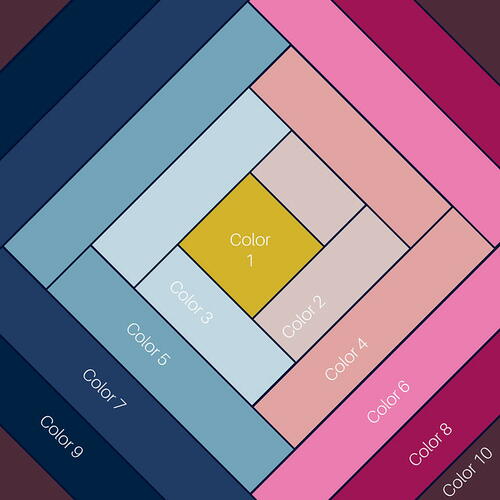
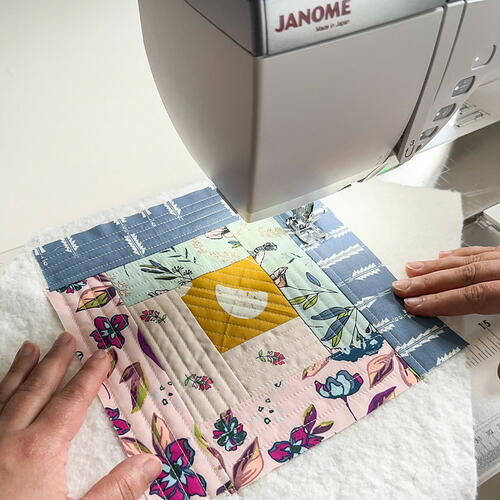
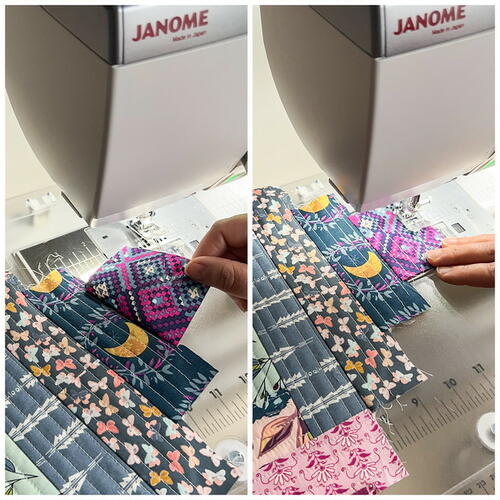
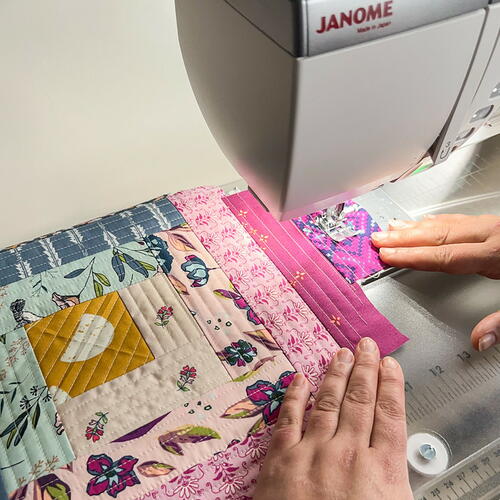
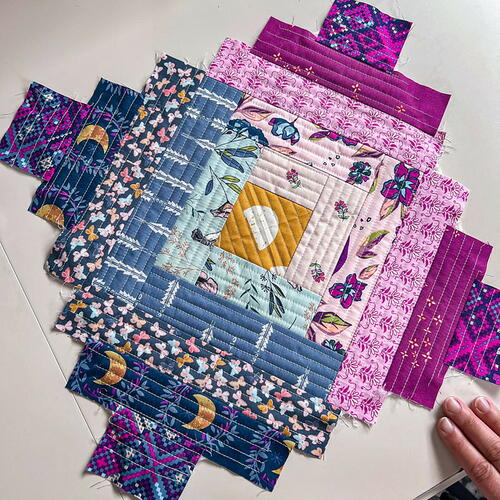
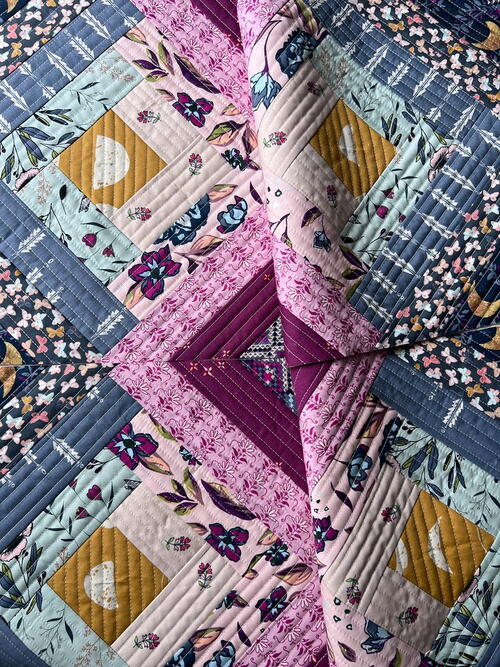
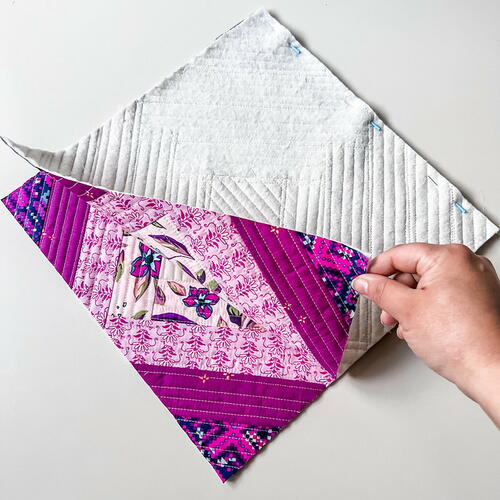
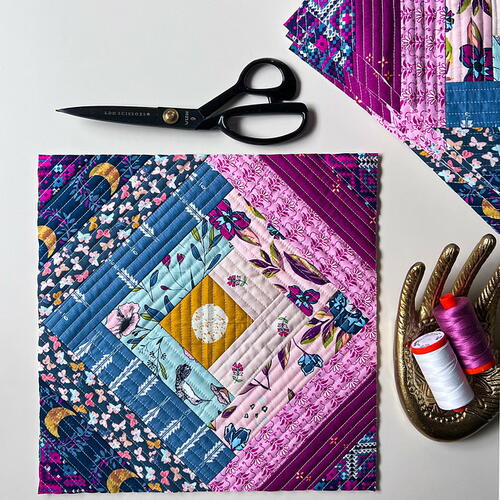
Following the fabric diagram and photos below, continue to add the next fabric in the same way, working your way continuously around the center square. Stitch, flip and finger press or iron press open each fabric. Keep consistent straight stitch quilting as you work your way around, adding each fabric piece to reach the outer corners of the batting square. Keeping a consistent 1/4" seam allowance as you add each fabric piece is also the key to create uniform blocks.
-
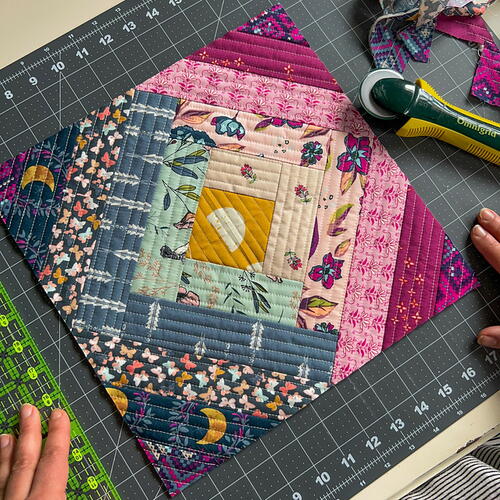
Now that your Moon Garden block is complete, and the batting completely covered with the fabric pieces, it's time to square it up and cut away the excess fabric and batting.
Trimming the Quilt Block:
-
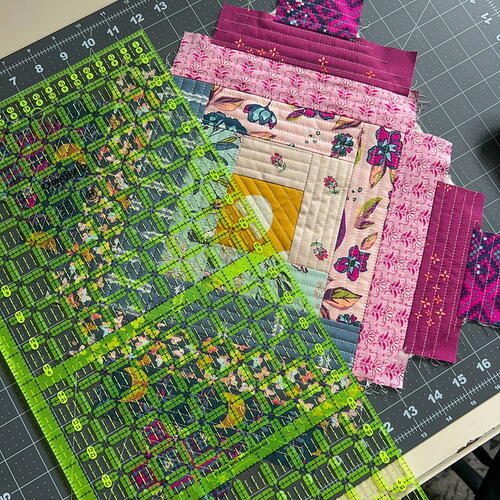
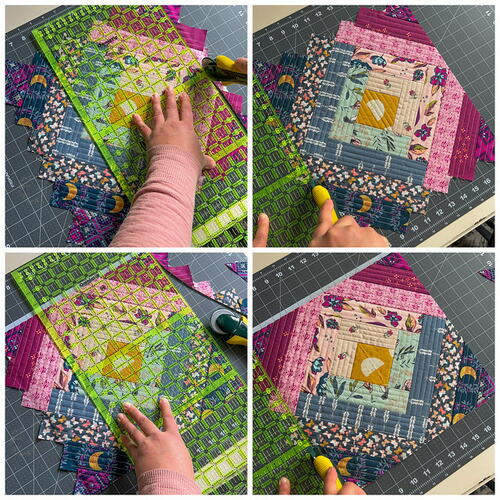
Begin trimming by centering the block on a cutting mat using a ruler to line up the center of the quilt block with the center of the mat. This block will be trimmed to measure 12.5" square.
-
First, measure 6 1/4" from the center of the block to one edge and use a ruler and rotary cutter to trim away excess from that side. Repeat, measuring 6 1/4" from the center to the opposite side now and trim. Next, rotate the block and center again to trim up the two remaining sides. Use ruler and rotary cutter again to trim away the excess, measuring 6 1/4" from the center to trim one side and then the other, for a squared up block that measures 12.5".
-
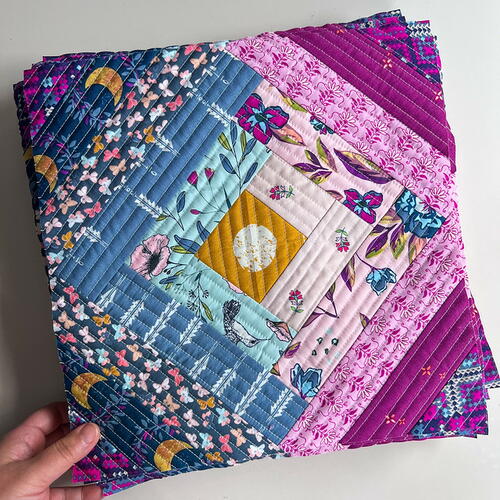
Now that the first Moon Garden QAYG Quilt Block is finished, you can turn it into a pillow, bag, whatever your creative heart desires, or of course you can keep on going to make as many as you'd like to create any quilt size you wish!
Tips for Making a Moon Garden Quilt:
-
When these 12.5" blocks are joined together to additional blocks, they finish at a 12" square.
I'm using a half yard bundle of the ten prints included in the Maureen Cracknell Designer's Palette for Art Gallery Fabrics which will yield a twenty-block, throw size Moon Garden Quilt that finishes at 48" x 60."
Note: To make a larger quilt with more than twenty Moon Garden blocks, more than a 1/2 yard of fabrics 6 and 7 will be needed. -
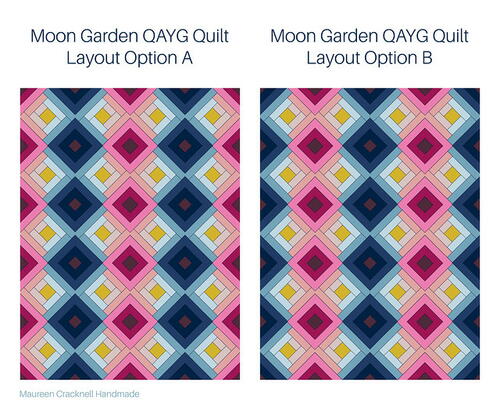
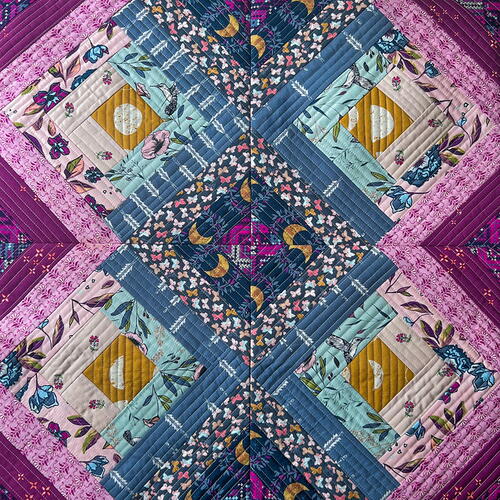
Using the twenty-block 4 x 5 layout, there are two different quilt looks you can achieve using this layout depending on which way you choose to orient the Moon Garden blocks.
-
I'll be using Option A to finish my quilt, with the pink and purple palette fabrics meeting in the middle and on both sides of the quilt.
Tips for finishing:
-
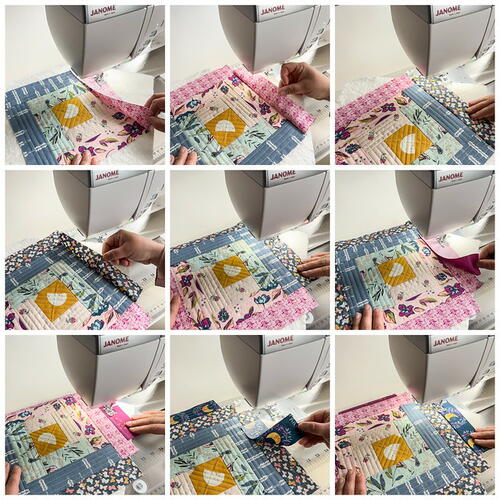
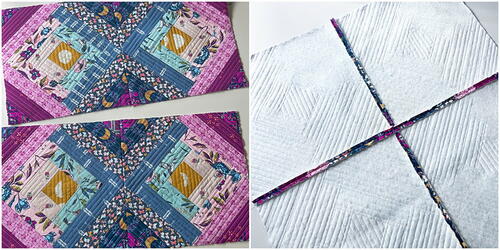
To join the qayg blocks, place two quilted quilt blocks right sides together, matching up all ends and pin in place.
-
Sew along one outer edge using a 1/4" seam allowance to attach.
-
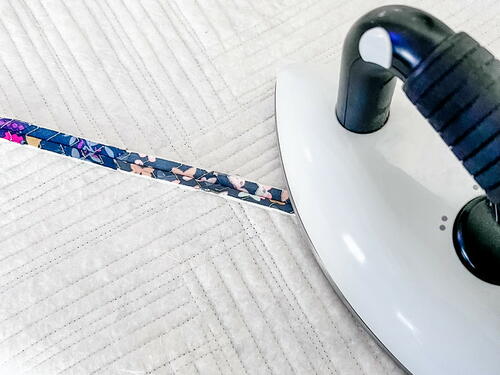
Using a hot iron with steam, press the seams open to reduce any the bulk.
-
Continue sewing together the qayg quilt blocks, pressing all seams open as you go.
-
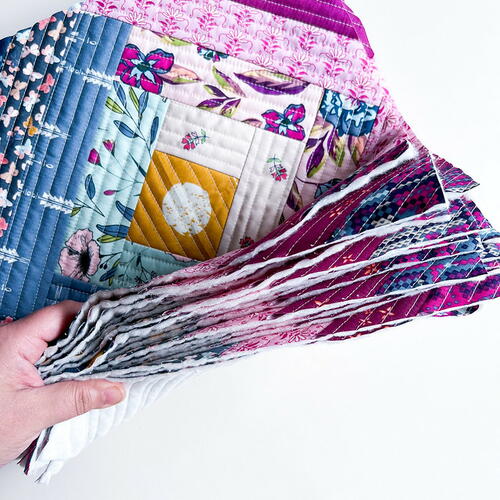
When it comes time for finishing the quilt, start by pin or spray basting the finished qayg quilt top to the backing fabric. Again using the straight stitch with length set at 3.0, simply stitch your way down from the top of the quilt to the bottom, sewing about 1/4" to 1/2" from one side of the seam line created from where the quilt blocks have been joined. This begins attaching the qayg quilt top layer to the quilt backing layer.
-
Next, repeat this step stitching 1/4" to 1/2" along the other side of the seam line, again stitching from top to bottom. Once this minimal quilting is added from top to bottom, rotate the quilt layers and now stitch from one side to the other, stitching 1/4" to 1/2" along both sides of the seam line again. When finished, this creates a neat double stitch square grid like pattern on the backside of the finished quilt.
You can also finish the quilt using minimal hand quilting or traditional quilt tying to attach the qayg quilt top to the quilt backing layer.
Just as with any quilt, once the layers are fully attached, trim away any excess quilt backing fabric and bind to finish!
I hope you enjoy this Moon Garden QAYG Quilt Block Tutorial! -
Your project is finished! If you love this tutorial, be sure to check out Janome.com for even more inspiration.
Read NextBejeweled Star Block Tutorial

